


Installing Skins
The look and feel of the CKEditor 4 user interface can be adjusted to your taste and customized through skins. Elements like the toolbar, dialog windows, buttons, and even their icons, can be changed to match the style of your website or application.
The default installation of CKEditor 4 comes with the Moono-Lisa skin.
#Where to Look for Skins?
The CKEditor Add-ons Repository is an online service designed to find and share editor plugins and skins. Its structure, with comprehensive descriptions and screenshots, makes it easy to understand the skin features and the comment system lets you socialize with the CKEditor 4 community or provide instant feedback. If you are a skin designer, the repository is also the best place to showcase your skills and reach a large user base.
#Online Builder Installation
If you found an interesting skin in the Add-ons Repository, you can easily add it to your custom build.
#Through Online Builder
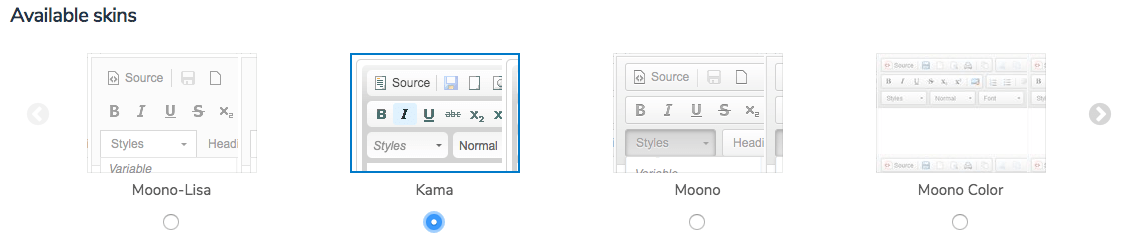
The easiest method is to visit the online builder page and select the skin that you wish to use in the Available Skins section.
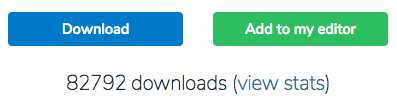
When you are happy with your configuration, click the Download button at the bottom of the online builder page to download your custom build with the selected skin included.
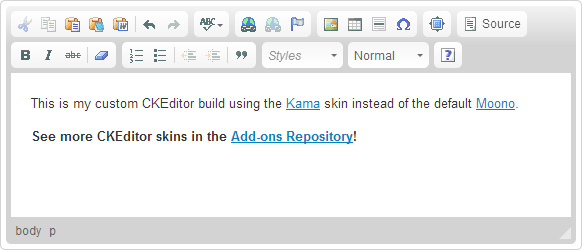
When you install your custom build, you will see it uses the skin that you added (in this example: Kama).
#Through Add-on Repository
Visit the skin page in the Add-ons Repository and click the “Add to my editor” button.
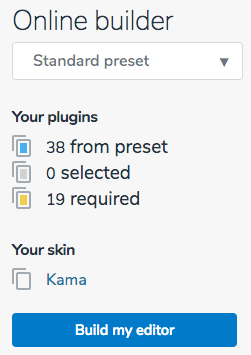
When you are ready, click the “Build my editor” button on the right to go to online builder. The skin that you have just added will be listed as a part of your custom build.
You can fine-tune your build in online builder and when you are happy with your configuration, click the Download button at the bottom of the online builder page to download your custom build with the selected skin included.
#Installing Skins Manually
Using online builder is a recommended solution, however, if you have skins developed by yourself or by third parties, you can add skins to your local installation manually by following the steps described below:
-
Extract the skin
.ziparchive. -
Copy the skin files to the
skinsfolder of your CKEditor 4 installation. Each skin must be placed in a sub-folder that matches its “technical” name.For example, the Kama skin would be installed into this folder:
<CKEditor folder>/skins/kama. -
Enable the skin. Use the skin setting to add the skin to your confiuration:
config.skin = 'kama';
Your skin will now be available in your CKEditor 4 installation.
To avoid the manual installation process submit your skins to the Add-ons Repository and encourage third-party developers to do so. In this way you will be able to both give something to the community and get valuable feedback on your work.