


Inline Editing
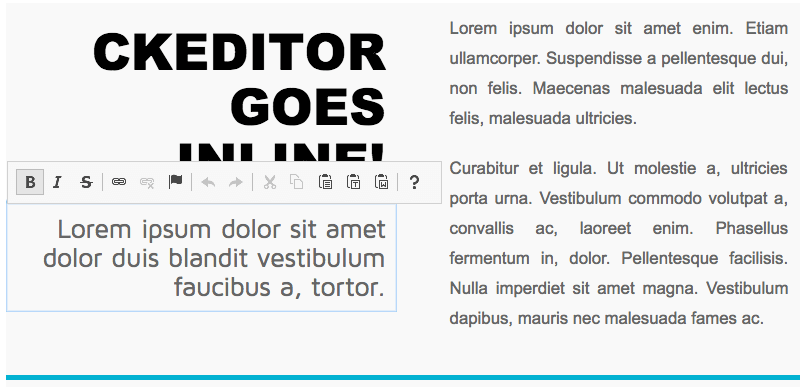
Inline Editing is a new technology introduced in CKEditor 4 that allows you to select any editable element on the page and edit it in-place. As a result, the editor can be used to edit content that looks just like the final page.
It is a total WYSIWYG experience, because not only the edited content looks like the final outcome, but also the page and the context where the content is placed is the real one. Unlike in classic editor, there is no <iframe> element created for the editing area. The CSS styles used for editor content are exactly the same as on the target page where this content is rendered!
To try it out, see the inline editing demo.
#Content Styles = Page Styles
Inline editing is a true WYSIWYG experience and on the contrary to classic editing, the styles that are used for edited content come directly from the document stylesheet. This means that inline editors ignore default CKEditor content styles provided through the CKEDITOR.config.contentsCss configuration option and use the styles from the page that CKEditor is rendered on.
#Enabling Inline Editing
Inline Editing is enabled directly on HTML elements through the HTML5 contenteditable attribute.
Suppose, for example, that you want to make a <div> element with an ID of editor1 editable. In order to achieve this, it is enough to do the following:
<div id="editor1" contenteditable="true">
    <h1>Inline Editing in Action!</h1>
    <p>The "div" element that contains this text is now editable.</p>
</div>
It is also possible to enable inline editing with explicit code, by calling the CKEDITOR.inline method for the element that needs to have it enabled. Note that in this case you need to turn off automatic editor creation first by setting the CKEDITOR.disableAutoInline option to true.
Do remember that if the DOM element for which inline editing is being enabled does not have the contenteditable attribute set to true, the editor will start in read-only mode.
<div id="editor1" contenteditable="true">
    <h1>Inline Editing in Action!</h1>
    <p>The "div" element that contains this text is now editable.</p>
</div>
<script>
    // Turn off automatic editor creation first.
    CKEDITOR.disableAutoInline = true;
    CKEDITOR.inline( 'editor1' );
</script>
When you click inside the content of this <div> element, the CKEditor 4 toolbar will appear.
The list of elements that support inline editing is available in the CKEDITOR.dtd.$editable property.
#Inline Editing for Textarea
Since CKEditor 4.2 you can also turn <textarea> elements into inline editors. When you call the CKEDITOR.inline method on a <textarea>, an additional <div> element with inline editing enabled will replace the original <textarea>.
#Inline Editing with Classic Editing UI
There is also an optional Div Editing Area plugin that allows to mimic the classic, <iframe>-based editor’s UI with inline editing. See the “Fixed UI for Inline Editor” section in the “Editor User Interface Types” feature description for more information.
#Inline Editing Demo
See the working “Inline Editor” sample that showcases a few usage scenarios for inline editing.
#Further Reading
Check the following articles to learn more about other editor types and learn how to get and save the editor data:
- Classic editing is the usage scenario where the editor is most often represented by a toolbar and an editing area placed in a specific position on the page, usually as a part of a form that you use to submit some content to the server.
- Getting and Saving Data in CKEditor explains how to retrieve data from any editor instance and send it to your server.