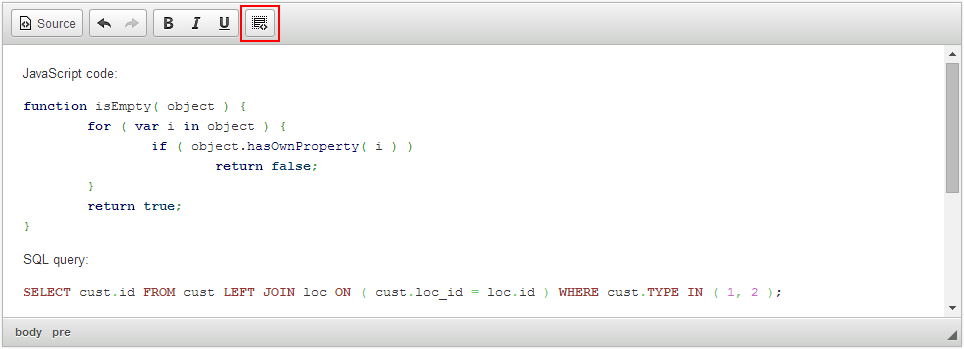
Inserting Code Snippets Using GeSHi
The GeSHi library is no longer maintained and poses security risks due to a lack of ongoing updates. To enhance CKEditor 4’s security, we’ve removed GeSHi as a dependency. Integrators wanting to use GeSHi should add it manually, understanding the potential security vulnerabilities associated with its use.
This feature was introduced in CKEditor 4.4. It is provided through optional plugins that are not included in the CKEditor 4 presets available from the Download site and need to be added to your custom build with online builder.
The Code Snippet GeSHi plugin is an extension of the Code Snippet plugin, which uses the GeSHi PHP server-side syntax highlighting engine instead of the default, client-side highlight.js library.

# Requirements
- CKEditor 4.4+,
- PHP 4.4+,
- A modern web browser or IE9+,
- CKEditor plugin dependencies — these will be resolved automatically if you follow the recommended online builder installation process.
# Installation
# Back-end Configuration
First of all you need to add both the Code Snippet GeSHi plugin and its dependencies to your CKEditor 4 build and also install the GeSHi library itself.
-
Add the Code Snippet GeSHi plugin to your build (as explained in the Installing Widgets article). Mind the dependencies — these will be resolved automatically by online builder.
-
Download the GeSHi library from the Download page at the GeSHi website.
-
Create a
libdirectory next to yourckeditordirectory. -
Extract GeSHi files to the chosen location — for example into the
lib/geshi/directory. -
Create a
colorize.phpfile (e.g. in thelib/directory) and set its content to the following:<?php if ( function_exists( 'stream_resolve_include_path' ) && stream_resolve_include_path( 'geshi/geshi.php' ) === FALSE ) { die( '<pre class="html">Please install the GeSHi library. Refer to plugins/codesnippetgeshi/README.md for more information.' ); } include_once 'geshi/geshi.php'; $json_string = file_get_contents( 'php://input' ); $json_object = json_decode( $json_string ); $geshi = new GeSHi( $json_object->html, $json_object->lang ); echo $geshi->parse_code();This file will be queried each time the syntax highlighting is needed.
-
At this point you may have a following directory structure:
lib/
    geshi/
        <GeSHi directories...>
        geshi.php
    colorize.php
ckeditor/
    <CKEditor files and directories>
    ckeditor.js
It is a good practice to place external libraries outside the CKEditor 4 directory as it makes future updates easier.
# Editor Configuration
Go to your CKEditor configuration and set the CKEDITOR.config.codeSnippetGeshi_url option. For example for in-page configuration you can use the following code:
CKEDITOR.replace( 'editor1', {
    extraPlugins: 'codesnippetgeshi',
    codeSnippetGeshi_url: '../lib/colorize.php'
} );
You can find more information about setting configuration in the Setting Configuration guide.
Note: The value of the CKEDITOR.config.codeSnippetGeshi_url option might also be set to an absolute URL.
# Summary
This tutorial uses the lib/ directory as an example of organizing the directory structure outside CKEditor 4. Most likely you will want to adjust it to match your needs, but remember to update the path in the CKEDITOR.config.codeSnippetGeshi_url configuration option.
You can now open your page with CKEditor 4 and insert some code into its content by using the Insert code snippet feature. As long as the Code Snippet GeSHi plugin is enabled, it will send Ajax requests to the GeSHi adapter file set in the CKEDITOR.config.codeSnippetGeshi_url configuration option.


