Users in real-time collaboration
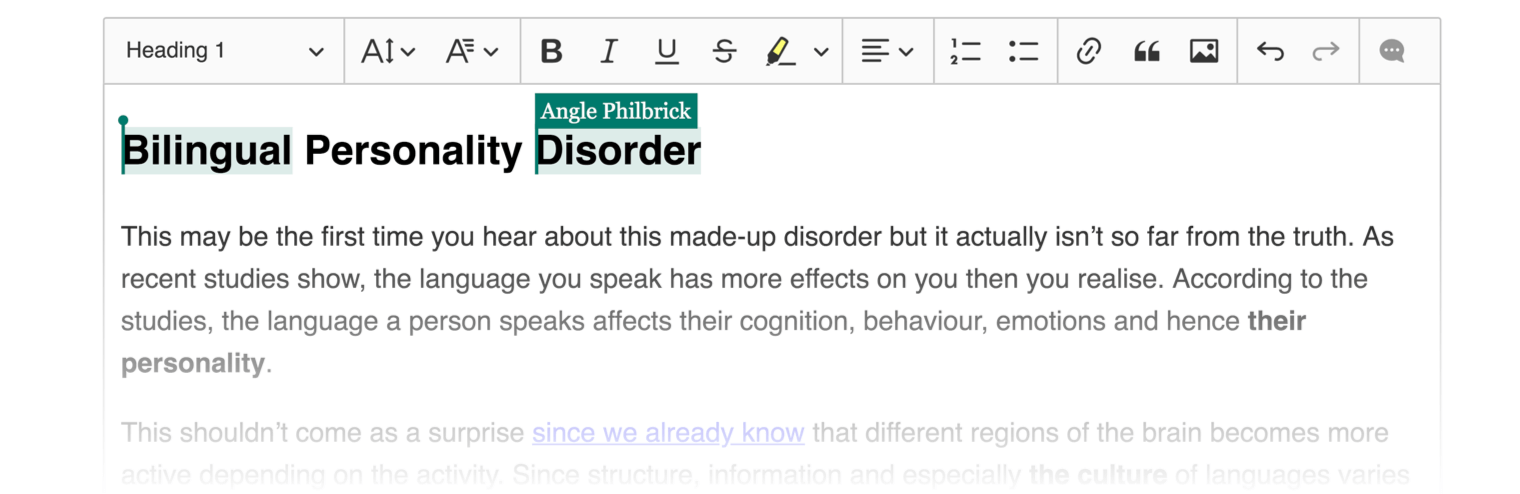
After you enable the real-time collaborative editing plugin, the selections of collaborating users will automatically display to all of them with no additional configuration. The editor will also set the proper permissions for the local user based on data received from the server.

There are even more user features that can be enabled in real-time collaboration. The package contains an easy-to-install plugin to show the list of connected users and the sessions API to observe this collection.
CKEditor 5 supports setting user roles and permissions to enable/disable some editor functionalities for the user.
To learn how to define user roles and permissions, refer to the Roles and permissions guide of the Cloud Services documentation.
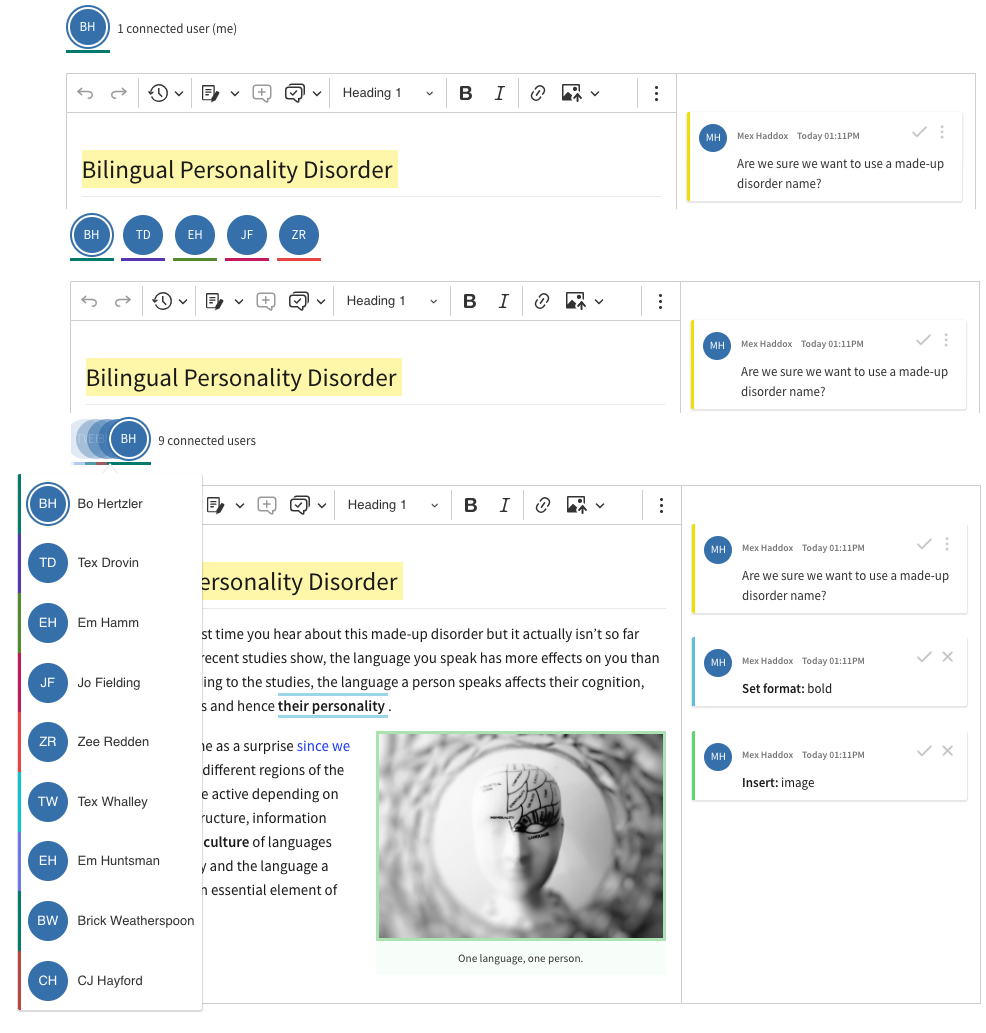
The PresenceList plugin provides a UI which displays all users that are currently connected to the edited document. The users are displayed as a row of avatars. The information about the users is provided by CKEditor Cloud Services.
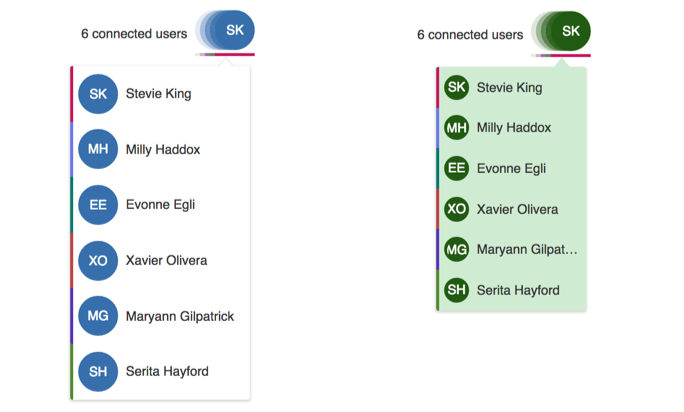
The presence list UI collapses to a dropdown if six or more users are connected.
By default, the local user avatar is always present on the list. You can hide it by setting the displayMe configuration flag to false. It is also mark with an outline and listed first.
Before you start, make sure that you go through the Real-time collaboration features integration guide. This section uses it as a starting point and assumes your real-time collaboration editor is working and the PresenceList plugin is loaded.
The plugin configuration consists of three options:
container– This is a DOM element that will hold the feature’s UI. It is required and already defined if you use the code from the Real-time collaboration features integration tutorial.collapseAt– This optional parameter defines how many users need to be connected to switch the presence list to the dropdown view. The default value is6.onClick– Here, you can pass a callback function that will be invoked after a click in a presence list member. This function is invoked with two arguments: theuserand theelement. The first provides the clicked member details, and the second is the clicked element. This option is not required.
You can add the following code to the editor configuration object to get more control over the user presence list:
const editorConfig = {
    /* ... */

    presenceList: {
        // Existing configuration.
        container: document.querySelector('#editor-presence'),

        // Additional configuration.
        collapseAt: 3,
        onClick: ( user, element ) => console.log( user, element )
    },

    /* ... */
}
Complementary to this guide, we provide ready-to-use samples available for download. We prepared samples for all editor types (multi-root included) as well as for the React, Angular, and Vue integrations. You may use them as an example or as a starting point for your integration.
Like in the whole CKEditor 5 Ecosystem PostCSS is used to handle styles with the power of CSS Variables. The user presence list feature also uses it to make it possible to easily customize its appearance.
By default a presence list has two states with a dedicated design:
- Avatars displayed inline in the container (with fewer than 5 users).
- A dropdown panel for more than 5 users connected.
With inheritance of CSS Variables you can change the default values of variables. You can override these properties with a .css file or place your customizations directly into the <head> section of your page, but in this case, you will need to use a more specific CSS selector than :root (like <body>).
Add the following styles to the style.css file created in the Real-time collaboration features integration guide:
/* Change the user presence list hue to greenish. */
.ck.ck-presence-list {
    --ck-user-avatar-background: #215a11;
}

.ck.ck-presence-list__balloon {
    /* Make a smaller user avatar in the dropdown list. */
    --ck-user-avatar-size: 25px;

    --ck-user-avatar-background: #215a11;
    --ck-color-presence-list-dropdown-background: #d0ecd2;
    --ck-color-presence-list-dropdown-arrow-border: #d0ecd2;
}

.ck.ck-presence-list__balloon .ck.ck-presence-list__dropdown-list-wrapper {
    /* Reduce the minimum and maximum width of the dropdown. */
    --ck-presence-list-dropdown-list-min-width: 100px;
    --ck-presence-list-dropdown-list-max-width: 150px;
}
Check out the color sheet for the full list of customizable colors. You can also browse other files with CSS Variables in CKEditor 5.
To change the color assigned to users, refer to the Users API guide.
The examples above will generate the following presence list designs:
The Sessions plugin stores information about users and sessions connected to the rich text editor. You may say that the presence list is a visualization of the sessions plugin data.
The difference between the sessions plugin and the users plugin is that the latter also keeps information about the users who are not currently connected to the editor (for example, a comment author who is currently offline).
If your integration uses the context feature and there are multiple channels used, the Sessions plugin aggregates users connected to all the channels.
There are two types of entries in the sessions plugin: connected users and sessions.
There is one session for each connection to a given channel. For example, for each open editor instance connecting to a given channel ID, there will be a session. Every session has a user. However, the same user can be linked with multiple sessions (for example, the same user opened the same URL in multiple tabs).
In other words, if the same user (with the same user ID) opens the same document in two different tabs, they will create two sessions but only one user will be connected. You will be able to see two selections in the same document, both in the same color, but only a single user in the user presence list.
If you use real-time collaboration features, the Sessions plugin will be loaded and available:
const sessionsPlugin = editor.plugins.get( 'Sessions' );
Check the API of the Session plugin to learn how to use it.