Cloud Services Management
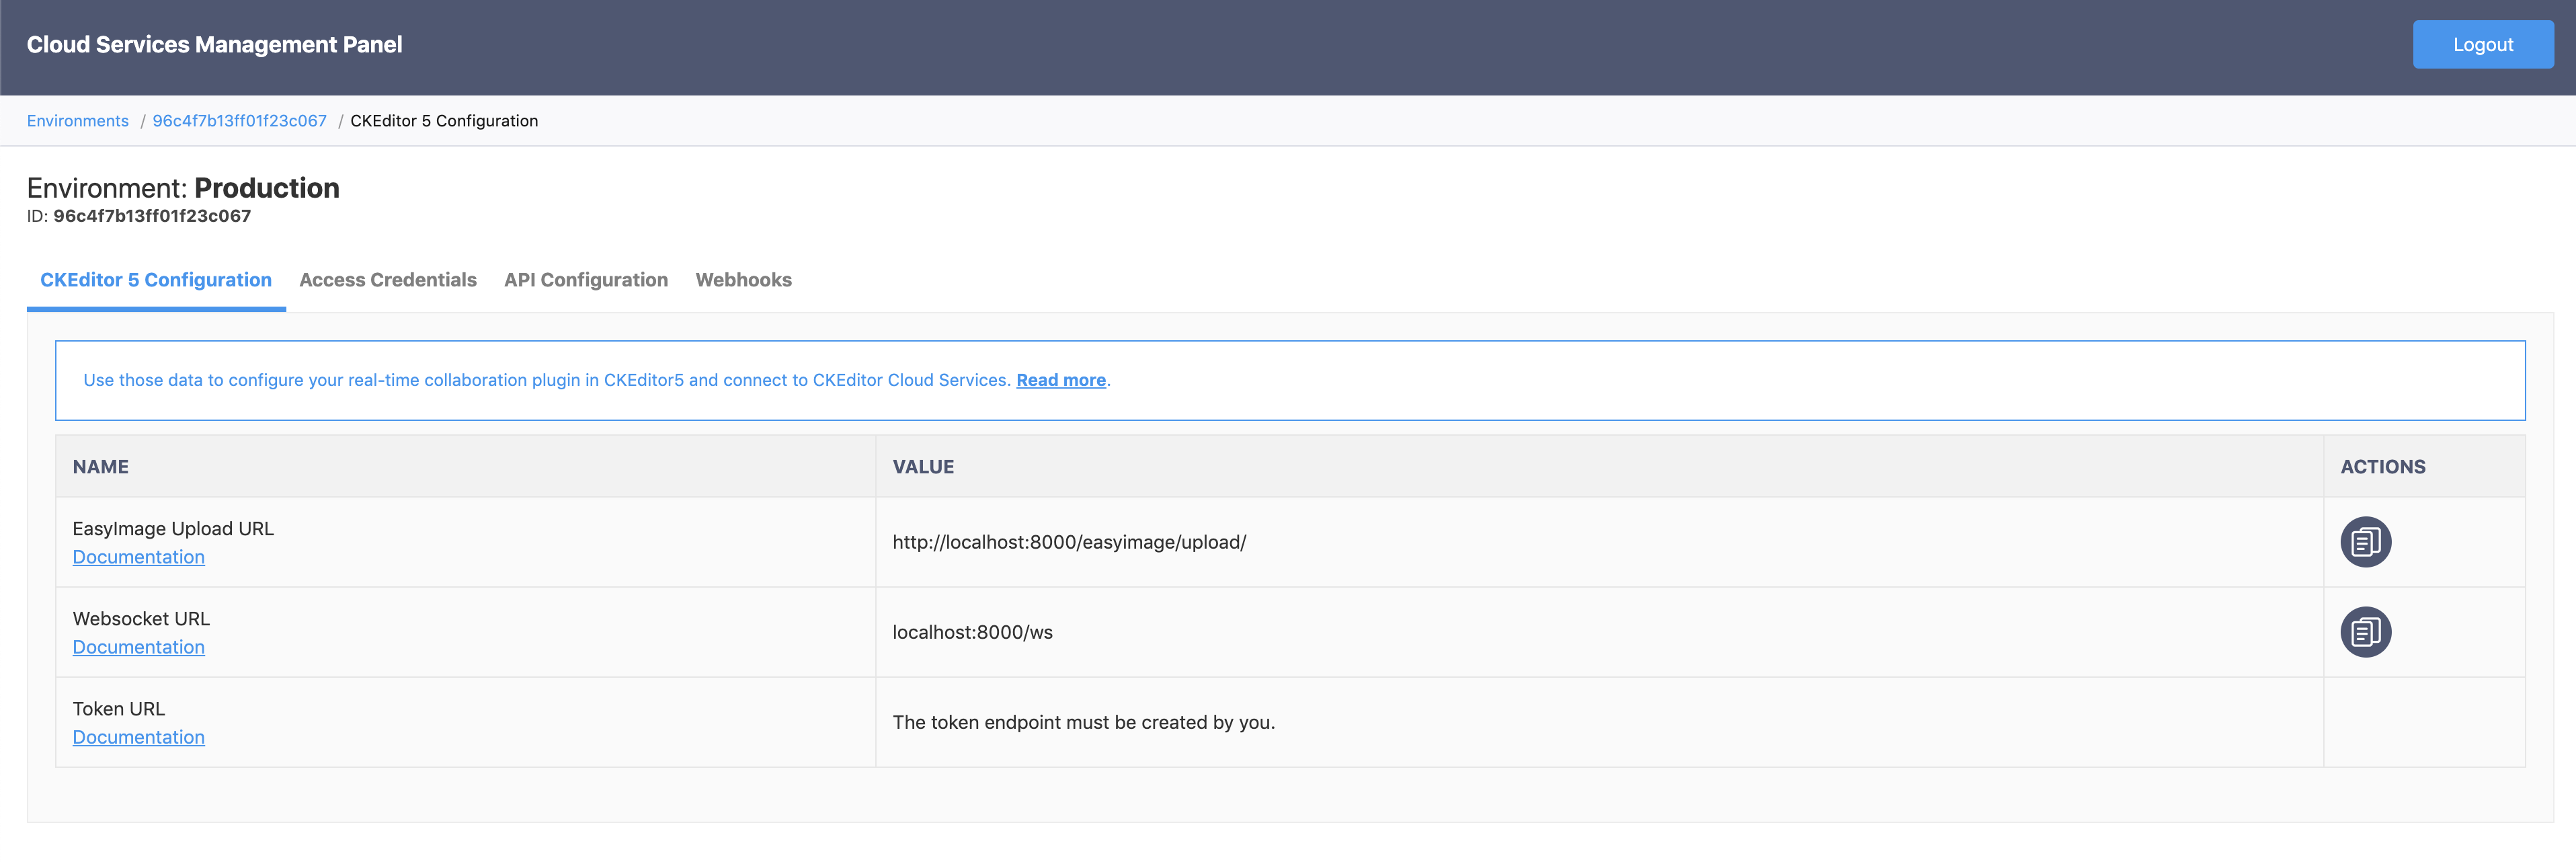
You can manage the environments in Collaboration Server On-Premises using the Cloud Services Management Panel or via Cloud Services Management REST API.
The Cloud Services Management Panel application can be used to:
- Create, modify and delete environments.
- Add an access key to an existing environment or remove it.
- Manage webhooks configuration.
- Manage API Secret.
- Check license usage.
The Cloud Services Management Panel is available at /panel/. So if the application is launched on localhost on 8000 port, the panel is available at http://localhost:8000/panel/.
If you use SSL connection you may encounter Mixed content: The page at 'https://you-domain-example.com/panel#/login' was loaded over HTTPS, but requested an insecure XMLHttpRequest endpoint... error.
In that case, please refer to Reverse proxy section and read more about X-Forwarded-Proto header or APPLICATION_EXTERNAL_ENDPOINT configuration variable.
Managing environments through the Cloud Services Management Panel is possible immediately after starting the application. You only need to enter the secret on the first screen to allow communication between the panel and the application.

The secret is ENVIRONMENTS_MANAGEMENT_SECRET_KEY variable set in the Collaboration Server On-Premises configuration.
After logging in, the first screen with a list of environments with manageability is visible.

Details of each environment with the possibility of configuration changes, key management, etc. are available after entering the selected environment.

The secret provided at login is stored for an hour, after this time you have to enter the secret again. However, the Cloud Services Management Panel is built into the application and is available at /panel/. That is why we recommend adding authentication to the load balancer level for the panel address.
Add HTTP Basic Authentication to the load balancer for /panel/ url.
The Cloud Services Management REST API contains the same features as the Cloud Services Management Panel but does not provide a web interface. However, can be useful for automating environmental management via scripts.
The Cloud Services Management REST API consists of two APIs. One API is used to manage environments and its documentation can be found at /environments/docs. The second, separate API is used to manage the webhooks configuration and documentation can be found at /webhooks/docs.
The Cloud Services Management REST API can be used immediately after starting the application. However, please note that every request has to have an authorization header.
Read more about authorization in the Security section.
While creating an environment, you need to specify the services that are supported by the environment. We recommend creating environments with all services. This process is automated in the panel, but the REST API does not have the default values, therefore it requires passing services as well. We recommend adding an environment with the following services enabled: collaboration.
An example of creating an environment with services can be found here.
Each API has its documentation in the form of API Explorer. API Explorer presents all versions of the documentation, updated automatically, and includes a useful tool for exploring and testing endpoints. Thanks to this it is possible to use/test endpoints straight from the documentation.
Each request sent to Cloud Services Management REST API should have authorization headers (X-CS-Signature and X-CS-Timestamp). This is the same algorithm as the one for restful APIs described here.
Check an example of using the API to create an environment with an authorization header in Node.js.