How to customize the CKEditor UI: custom dialogs and forms
11min read
|CKEditor 5 supports two approaches for a custom dialog. Inject your own HTML alongside the editor for maximum flexibility with your framework, or use the built-in Dialog plugin with the CKEditor UI library for an XSS-safe, accessible, integrated lifecycle. Choose HTML when your app already has a design system. Choose the Dialog plugin when you need tight editor integration and accessibility out-of-the-box.
Why this matters
In Part 1 of this blog post series, you added New Document and Open Document items to the menu bar. Clicking them has to open something, and that’s where most integrations stall. You need a dialog with a form, validation, a submit button, and keyboard support, and the docs give you two very different ways to build it. Pick wrong and you either reinvent accessibility by hand or fight the editor’s lifecycle. This guide shows both approaches on the same two dialogs, with a rule for choosing, so the menu items from Part 1 actually do something.
This is part 2 of a three-part series. Part 1 covered the menu bar. Part 3 will cover the Cloud Services backend that stores and lists the documents these dialogs open.
What are the two ways to build custom UI in CKEditor 5?
For UI that lives outside the editor’s control and reuses your own design system, use plain HTML (Approach A). For UI that belongs to a plugin and needs accessibility and theming for free, use the Dialog plugin (Approach B). Both render a working dialog. They differ in where the code lives and how much the editor does for you.
Approach A: custom HTML hooked into the editor. You build the dialog with document.createElement and append it to document.body, completely outside the editor. The editor never knows the dialog exists.
// a plain-DOM dialog appended to the document body.
async function showDocumentSelectionDialog() {
    const overlay = document.createElement('div');
    overlay.className = 'document-dialog-overlay';

    const dialog = document.createElement('div');
    dialog.className = 'document-dialog';
    // Build content with createElement / textContent / dataset
    // never innerHTML with user data.

    overlay.appendChild(dialog);
    document.body.appendChild(overlay);
}
Approach B: the CKEditor UI framework. You use the Dialog plugin and a View built with setTemplate(). The dialog is part of the editor: it inherits theming, internationalization, focus tracking, and keyboard navigation.
import { Plugin, Dialog, View, ButtonView, LabeledFieldView,
         createLabeledInputText, submitHandler } from 'ckeditor5';

//declare the Dialog plugin as a dependency and show a View
export class MyPlugin extends Plugin {
    static get requires() { return [Dialog]; }

    _showDialog(locale) {
        const dialog = this.editor.plugins.get(Dialog);
        const contentView = new MyFormView(locale);

        dialog.show( {
            isModal: true,   // omit for a draggable, non-blocking dialog
            title: 'My Dialog',
            content: contentView,
            actionButtons: [{
                label: 'Confirm',
                class: 'ck-button-action',
                withText: true,
                 onExecute: () => { dialog.hide(); /* action */ }
            },
            {
                label: 'Cancel',
                withText: true,
                onExecute: () => dialog.hide()
            }]
        } );

        contentView.focus();
    }
}
Here’s the trade-off at a glance.
| Dimension | Approach A: plain HTML | Approach B: Dialog plugin |
|---|---|---|
| Where the code lives | Host app, no editor reference | Inside the plugin |
| XSS safety | Manual (textContent, dataset) | Built-in (setTemplate, no innerHTML) |
| Theming, i18n, focus tracking | You reimplement it | Inherited from the editor |
| Keyboard and accessibility | Hand-wired | form + submitHandler for free |
| Complex conditional UI | Direct DOM is simpler | Observable bindings, reactive |
| Concurrent dialogs | Many possible | One at a time |
A quick myth to kill: the choice is not about the editor lifecycle. Both approaches work even when the dialog triggers a full editor reinitialization, as long as you close the dialog before you destroy the editor. More on that in the example at the end of this post.
The demo uses the Dialog plugin for its dialogs, and plain DOM only where the dialog logic already lived in host-app callbacks with no editor reference. Where the code lives is the deciding factor.
How do you build a dialog with the CKEditor 5 Dialog plugin?
Build a View whose template root is a <form>, register submitHandler in render(), and drive dynamic parts with observable bindings. That combination gives you an accessible, XSS-safe, reactive dialog in far less code than the plain-DOM equivalent. The four building blocks below are the whole pattern.
Is the CKEditor Dialog plugin XSS-safe?
Yes. View.setTemplate() builds DOM from a structured object, never from an HTML string, so there is no innerHTML sink for user data to slip through. This is the single biggest reason to prefer the Dialog plugin over hand-rolled HTML: XSS safety is the default, not a checklist item you can forget.
// a form view whose root element is a real <form>.
class MyFormView extends View {
    constructor(locale) {
        super(locale);
        this.inputView = new LabeledFieldView(locale, createLabeledInputText);
        this.inputView.label = 'Value';

        this.setTemplate({
            tag: 'form',
            attributes: { tabindex: '-1' },
            children: [ this.inputView ]
        });
    }

    render() {
        super.render();
        // intercept native submit, fire a View 'submit' event
        submitHandler( { view: this } );
    }

    focus() { this.inputView.focus(); }
}How do I handle form validation and submission in CKEditor 5 dialogs?
Use a <form> root and call submitHandler({ view: this }) in render(). It intercepts the native form submit, including the Enter key in any input, and fires a submit event on the View. You get keyboard submission with zero keydown listeners, and you validate inside the single handler both the button and the Enter key call.
// route the button click and the Enter key through one handler
const handleConfirm = () => { dialog.hide(); /* action */ };

// Enter key, via submitHandler
formView.on( 'submit', handleConfirm );
// button click
confirmButton.on( 'execute', handleConfirm );
The submit event can branch on current state, so the Enter key always does the right thing for whatever stage the dialog is in. This is state-aware submit routing.
// Enter creates when there's no conflict, or resolves the conflict when one is shown.
formView.on('submit', () => {
    if ( formView.conflictDocId !== null ) {
        // primary action while a conflict is displayed
        chooseDifferent();
    } else {
        // primary action in the normal state
        handleCreate();
    }
} );When should you use bind('isVisible') versus bind('isEnabled')?
Use isVisible to remove an element from layout entirely, and isEnabled to keep it present but inactive. They answer different UX questions: “should this exist right now?” versus “can the user act on it right now?” Bind them independently to separate observables.
// hide a button on conflict, disable it during an async check

// Removed from layout when a conflict is active.
this.createButton
  .bind('isVisible')
  .to(this, 'conflictDocId', id => id === null);

// Present but greyed out while an async check runs.
this.createButton
  .bind('isEnabled')
  .to(this, 'isChecking', v => !v);
There’s always one gotcha, and this is it: directly assigning to an observable that has an active bind().to() permanently breaks the binding. In our testing, this.createButton.isEnabled = false after a bind('isEnabled').to(...) detached the binding on the first click, and no later change to the source observable ever updated the button again. There’s no warning in the console. The fix is to never assign the bound property by hand. Introduce a dedicated observable for the async state and bind to that.
the safe pattern – a dedicated isChecking observable, never a direct assignment.

this.set({ conflictDocId: null, isChecking: false });
this.createButton
  .bind('isEnabled')
  .to(this, 'isChecking', v => !v);
// In the handler: set this.isChecking = true/false. Never touch isEnabled directly.
What accessibility features does the CKEditor 5 Dialog plugin provide?
Out of the box, the Dialog plugin gives you focus tracking, focus trapping inside the modal, Escape-to-close, and ARIA roles on the dialog container. You still own the accessibility of the content you put inside it. Two additions cover the common gaps.
First, dynamic regions need aria-live. When a conflict message appears or disappears reactively, screen readers won’t announce it unless the container is marked live.
// announce a reactive message region to screen readers
{
    tag: 'div',
    attributes: {
        class: 'conflict-message',
        'aria-live': 'polite',
        'aria-atomic': 'true'
    },
    children: [ /* message */ ]
}
Second, interactive non-button elements need keyboard wiring. A clickable <div> list item is invisible to keyboard and screen-reader users until you give it tabindex="0", a role, and a key handler. Fire a View event from the DOM event with bindTemplate.
// make a custom list item clickable and keyboard-operable.
this.setTemplate({
    tag: 'div',
    attributes: { class: 'document-item', tabindex: '0', role: 'listitem' },
     // fire 'execute' on this View
    on: { click: this.bindTemplate.to('execute') },
    children: [ /* content */ ]
});

// In render(): Enter/Space also fire 'execute'.
// The parent listens once: itemView.on('execute', () => { ... });Example: building the New Document and Open Document dialogs
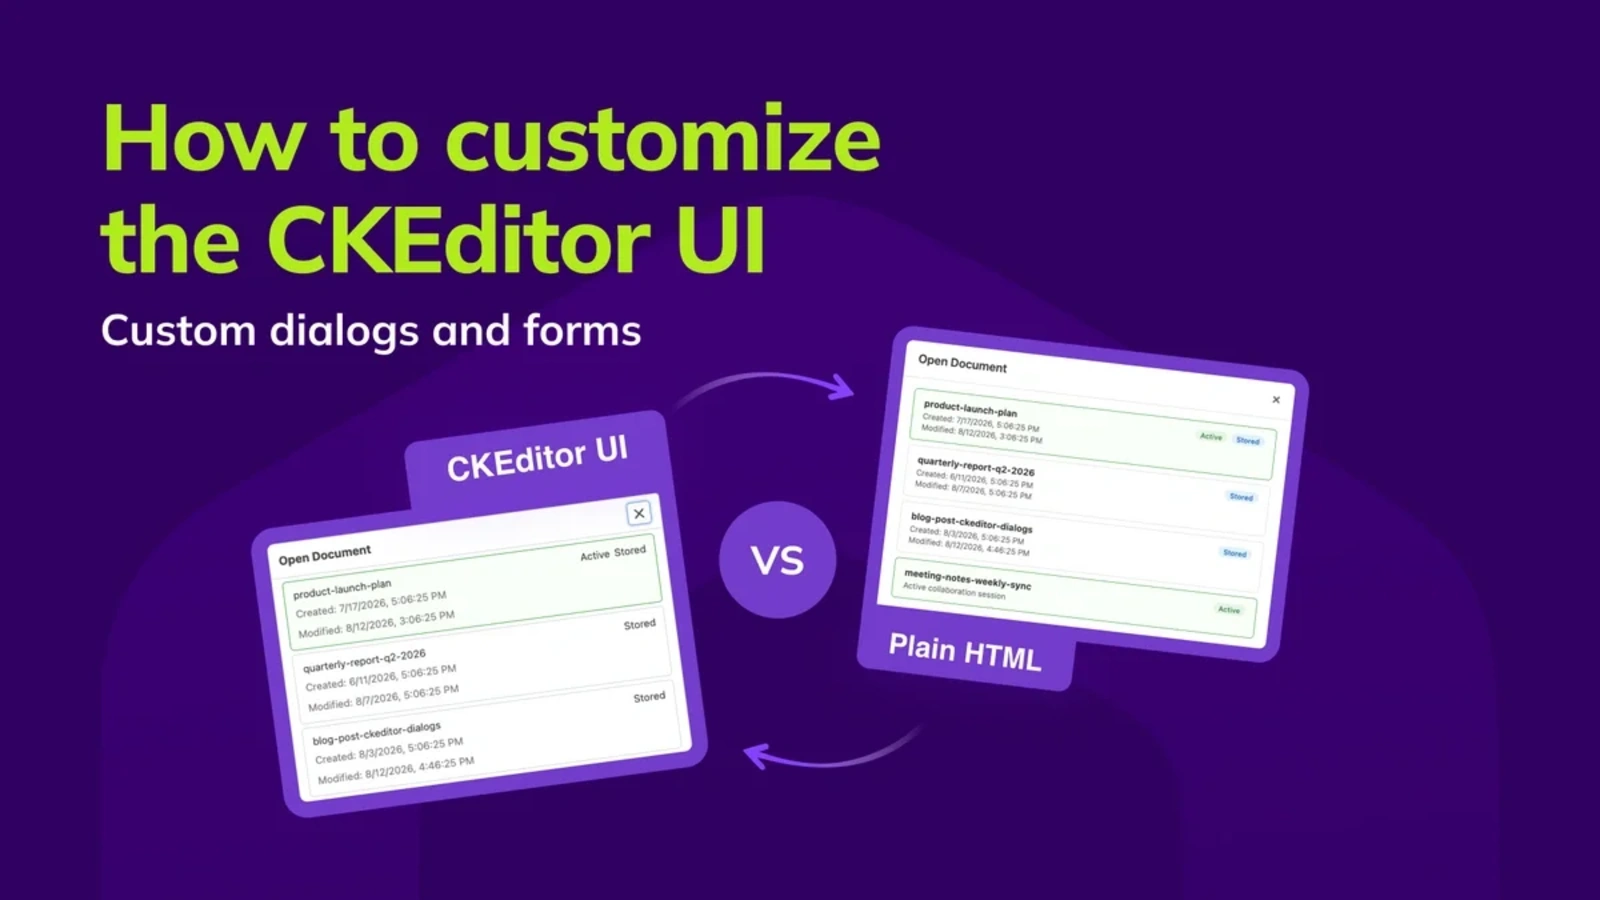
The two menu items from Part 1 open two dialogs, and together they show both approaches side by side. The Open Document dialog fetches its data first, then shows the list. The New Document dialog has a dynamic conflict-detection section with conditional buttons. Both re-initialize the editor with a different document ID once the user commits.
The key pattern in both is close-before-destroy: the dialog hides itself before reinitializeEditor() runs. The editor is alive the whole time the dialog is open, so the Dialog plugin never has to outlive the editor. This is why the lifecycle is a non-issue for either approach.
// Open Document – fetch first, then show the list, close before reinitializing.
async _showOpenDocumentDialog(locale) {
    const dialog = this.editor.plugins.get(Dialog);
    // fetch before the dialog opens
    const documents = await fetchDocuments();

    const listView = new DocumentListView(locale, documents, docId => {
        // close-before-destroy
        dialog.hide();
        reinitializeEditor(docId);
    });

    dialog.show( {
        isModal: true,
        title: 'Open Document',
        content: listView,
        actionButtons: [{
            label: 'Cancel',
            withText: true,
            onExecute: () => dialog.hide()
        }]
    });
}
For the New Document dialog, the demo happens to use plain DOM, because its dialog functions live in index.js and reach the plugin through editor.config callbacks with no editor reference. That async submit path is triggered by both a button click and the Enter key, which risks a double submission. Rather than add a separate let creating = false flag, use the submit button’s own disabled property as the in-flight guard. It already carries the exact semantics you want, so a boolean flag would just mirror it without adding information.
// guard an async submit with the button's own disabled state.
async function handleCreate() {
    // already in flight
    if ( createBtn.disabled ) return;
    createBtn.disabled = true;

    try {
   // ... create the document,
   // then close the dialog and reinitialize ...
    } finally {
        createBtn.disabled = false;
        createBtn.textContent = 'Create Document';
    }
}
Whichever approach opens the dialog, the wiring back to Part 1 is the same: the menu item’s callback opens the dialog, the dialog resolves to a document ID, and the host app reinitializes the editor on that ID. The plugin stays decoupled from the dialog implementation.
Voila – the menu items from Part 1 now do real work.
When should you use each approach? Key takeaways
- Use the Dialog plugin when the dialog logic lives inside the plugin. You inherit theming, i18n, focus handling, and XSS safety.
- Use plain DOM when the dialog logic lives in host-app callbacks that have no editor reference, or when a highly dynamic conditional UI is genuinely simpler with direct DOM.
View.setTemplate()is XSS-safe by design. Reach for it before hand-rolling HTML.- Get keyboard submission for free with a
<form>root plussubmitHandler. Nokeydownlisteners. - Bind
isVisibleto remove an element andisEnabledto disable it, each to its own observable. Never assign a bound property directly, or you detach the binding. - Close the dialog before you destroy the editor. The lifecycle never forces your hand between the two approaches.
Relevant CKEditor 5 documentation
- Dialog UI component guide: Learn how the dialog controller opens, configures, and closes CKEditor dialogs.
- CKEditor 5 UI library: Understand views, templates, observable properties, and the framework used to build editor-native interfaces.
- Observables and property binding: Review how to define observable state and bind properties such as
isEnabledandisVisible. - Focus tracking and keyboard navigation: Explore focus trackers, keystroke handlers, and focus cycling for accessible custom UI.
What’s next
Part 3 covers the backend behind these dialogs: how CKEditor Cloud Services stores and lists documents, the three storage strategies, and HMAC-SHA256 request signing. It’s where fetchDocuments() and the document IDs in this article actually come from.
Tags: