The Best Markdown Editor for Seamless Content Creation

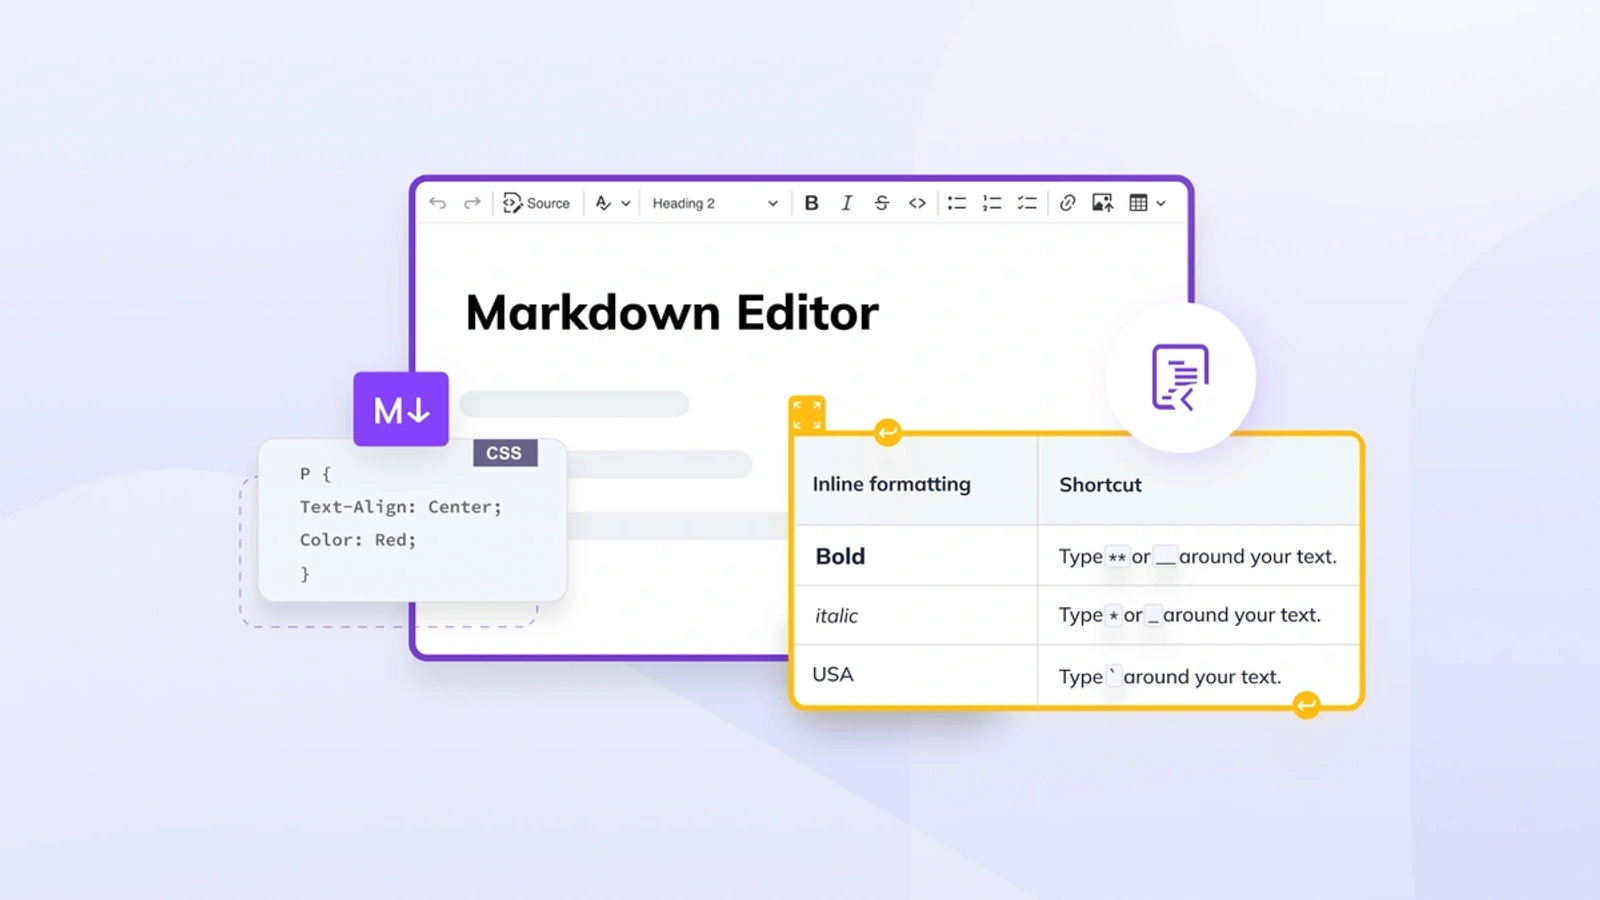
Markdown is a lightweight markup language that allows you to write formatted text using a plain text editor. Its simplicity and versatility have made it a popular choice for content creators, developers, and technical writers. If you’re looking to integrate Markdown editing into your workflow, CKEditor 5 offers a robust solution with its Markdown Editor. In this blog post, we will walk you through the CKEditor Markdown Editor demo, highlighting its key features and how you can use them to enhance your content creation process.
What is CKEditor Markdown Editor?
CKEditor Markdown Editor is an extension of CKEditor 5, which provides a rich text editing experience with the added flexibility of Markdown syntax. Whether you’re a developer working on documentation, a blogger writing posts, or anyone needing to format text quickly and efficiently, this editor combines the best of both worlds—visual editing with Markdown’s simplicity.
The CKEditor Markdown Editor Demo lets you experience the editor’s functionality firsthand. This demo environment showcases how the editor works in real-time, making it easier for users to understand its capabilities and potential applications.
Getting Started with the CKEditor Markdown Editor Demo
When you first visit the CKEditor Markdown Editor Demo page, you’ll be greeted by a clean and intuitive interface. Unlike traditional Markdown editors that may have separate windows for writing and previewing content, the CKEditor Markdown Editor operates within a single window. This unified interface allows you to seamlessly switch between editing and viewing the generated Markdown code.
1. The WYSIWYG Editor
The main editing area is where you create your content. You can type directly into this space, using the toolbar to apply various formatting options such as bold, italics, headings, and lists. As you format your text using the WYSIWYG (What You See Is What You Get) editor, the underlying Markdown code is automatically generated in the background.
For example, if you want to create a heading, simply select the text and choose the heading level from the toolbar. The editor will visually apply the heading style, and behind the scenes, it will generate the appropriate Markdown syntax, such as # for a top-level heading.
Key Features:
- Bold and Italics: Quickly format text with bold (**bold**) or italics (*italic*) by selecting the text and clicking the corresponding toolbar buttons.
- Headings: Choose from different heading levels, and the editor will automatically apply the correct Markdown symbol.
- Lists: Create ordered (1. List item) or unordered (- List item) lists with ease.
- Links and Images: Insert hyperlinks and images using the toolbar or by entering Markdown syntax directly.
2. Viewing the Source Markdown Code
One of the most powerful features of the CKEditor Markdown Editor is the ability to view and edit the raw Markdown code that the WYSIWYG editor generates. This can be done by clicking the “Source” button in the toolbar. When you click this button, the editor switches to “Source Mode,” displaying the Markdown code that corresponds to your visually formatted content.
In this mode, you can make direct edits to the Markdown syntax. This is particularly useful if you need to fine-tune the formatting or if you’re more comfortable working directly with Markdown. Once you’re done, you can switch back to the WYSIWYG mode by clicking the “Source” button again, and the editor will render your Markdown code back into formatted content.
3. Switching Between Modes
The ability to toggle between WYSIWYG mode and Source mode is a key feature that sets the CKEditor Markdown Editor apart from other Markdown editors. It allows you to work in the environment that best suits your needs:
- WYSIWYG Mode: Ideal for users who prefer a visual approach to content creation. The editor automatically generates the Markdown code, so you don’t have to worry about the syntax.
- Source Mode: Perfect for users who want to see and edit the raw Markdown code. This mode provides complete control over the formatting, allowing you to make precise adjustments.
Exploring Advanced Features
Beyond the basic formatting options, the CKEditor Markdown Editor demo also showcases several advanced features that can enhance your content creation experience.
1. Autoformatting
Autoformatting is a powerful feature that automatically converts plain text into formatted content as you type. For example, typing **bold** will automatically convert the text into bold without you needing to manually select and format it. This feature streamlines the writing process, allowing you to focus on content rather than formatting.
2. Tables
Creating tables in Markdown can be tedious, but the CKEditor Markdown Editor simplifies this task with an easy-to-use table tool. You can insert a table, define the number of rows and columns, and adjust the alignment of text within the cells. The editor handles the complex Markdown table syntax, so you don’t have to.
3. Code Blocks
For developers and technical writers, the ability to insert code blocks is essential. The CKEditor Markdown Editor supports fenced code blocks, allowing you to specify the programming language for syntax highlighting. This is particularly useful when documenting code or writing technical tutorials.
4. Blockquotes
Blockquotes are a great way to highlight important information or quotes within your content. In the CKEditor Markdown Editor, you can easily create blockquotes by selecting the text and clicking the blockquote button in the toolbar. The editor will automatically apply the > syntax.
5. Inline Code
In addition to code blocks, you can also format inline code snippets using the CKEditor Markdown Editor. This feature is useful for highlighting specific commands or pieces of code within a sentence.
Customization and Configuration
The CKEditor Markdown Editor is highly customizable. Developers can configure the editor to suit their specific needs, whether by modifying the toolbar, adding plugins, or integrating with other tools.
1. Toolbar Configuration
You can customize the toolbar to include only the tools you need, streamlining the interface and making it easier to focus on writing. For instance, if you primarily work with code, you might prioritize the code block and inline code options, while hiding less frequently used tools.
2. Plugin Integration
CKEditor 5 supports a wide range of plugins that extend its functionality. Whether you need advanced table editing, media embedding, or collaboration tools, there’s likely a plugin that fits your needs. The Markdown Editor can be seamlessly integrated with these plugins, allowing for a tailored editing experience.
3. API and Developer Tools
For those who want to dive deeper, CKEditor 5 offers a robust API and developer tools that enable extensive customization. You can create custom plugins, modify existing ones, or even develop entirely new editing experiences based on the CKEditor framework.
Conclusion: Why Choose CKEditor Markdown Editor?
The CKEditor Markdown Editor is a versatile tool that caters to both novice users and experienced developers. Its intuitive interface, combined with powerful features like autoformatting, tables, and code blocks, makes it an excellent choice for anyone looking to enhance their content creation workflow.
Whether you’re writing documentation, blog posts, or technical tutorials, the CKEditor Markdown Editor provides the flexibility and functionality you need. The demo available on the CKEditor website is a great way to explore these features and see how they can benefit your projects.
Ready to experience the power of CKEditor Markdown Editor? Try the demo today and see how it can transform the way you create content.


