How to Create a Custom Invoice Generator Using CKEditor 5: Step-By-Step Guide
Creating templated, customizable, and professional invoices can be frustrating and time-consuming.
But what if you could simplify the entire workflow with a single solution?
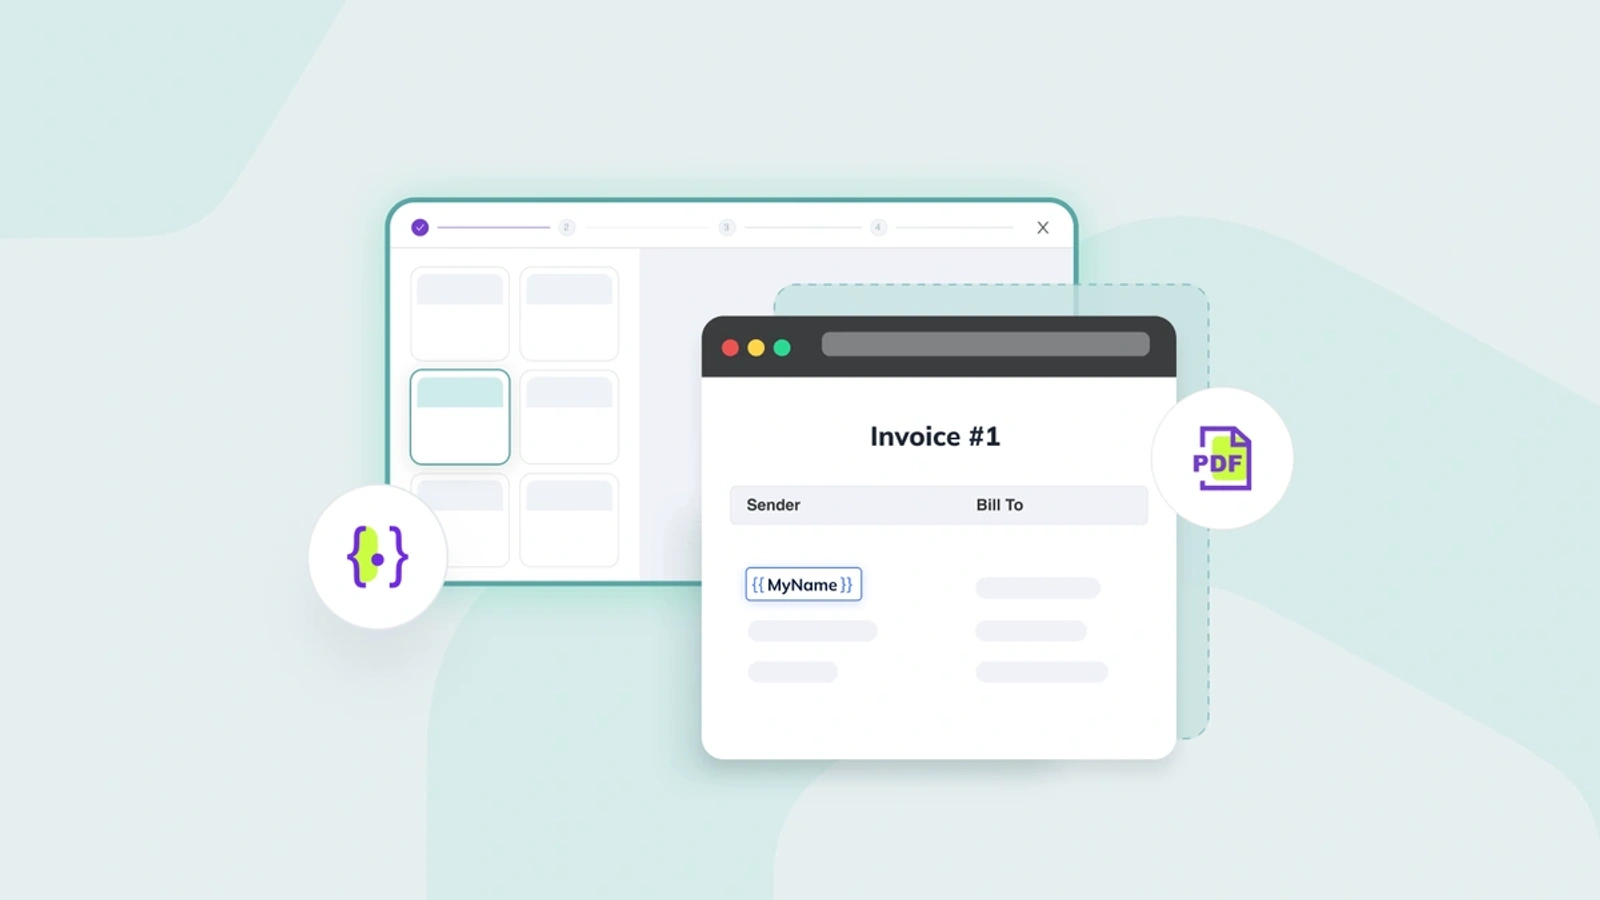
This guide will walk you through using CKEditor to create a custom invoice generator. It is packed with powerful features, such as customizable templates, merge fields, slash commands, and PDF export.
Setting up CKEditor
CKEditor integrates smoothly with various CKEditor 5 framework integrations like Angular, React, and Vue. In this guide, we’ll specifically explore how to build a custom invoice generator using CKEditor and React.
We recently introduced a user-friendly Builder tool that simplifies the setup process, allows you to configure and customize your editor, select your preferred framework, and generate the necessary code — all with a visual preview. It’s the WYSIWYG approach for your WYSIWYG editor!
Let’s navigate to the CKEditor 5 Builder. The setup is straightforward, involving four quick steps to get a complete starter project.
Step 1: Selecting a Preset
The first step is to pick one of the available presets.
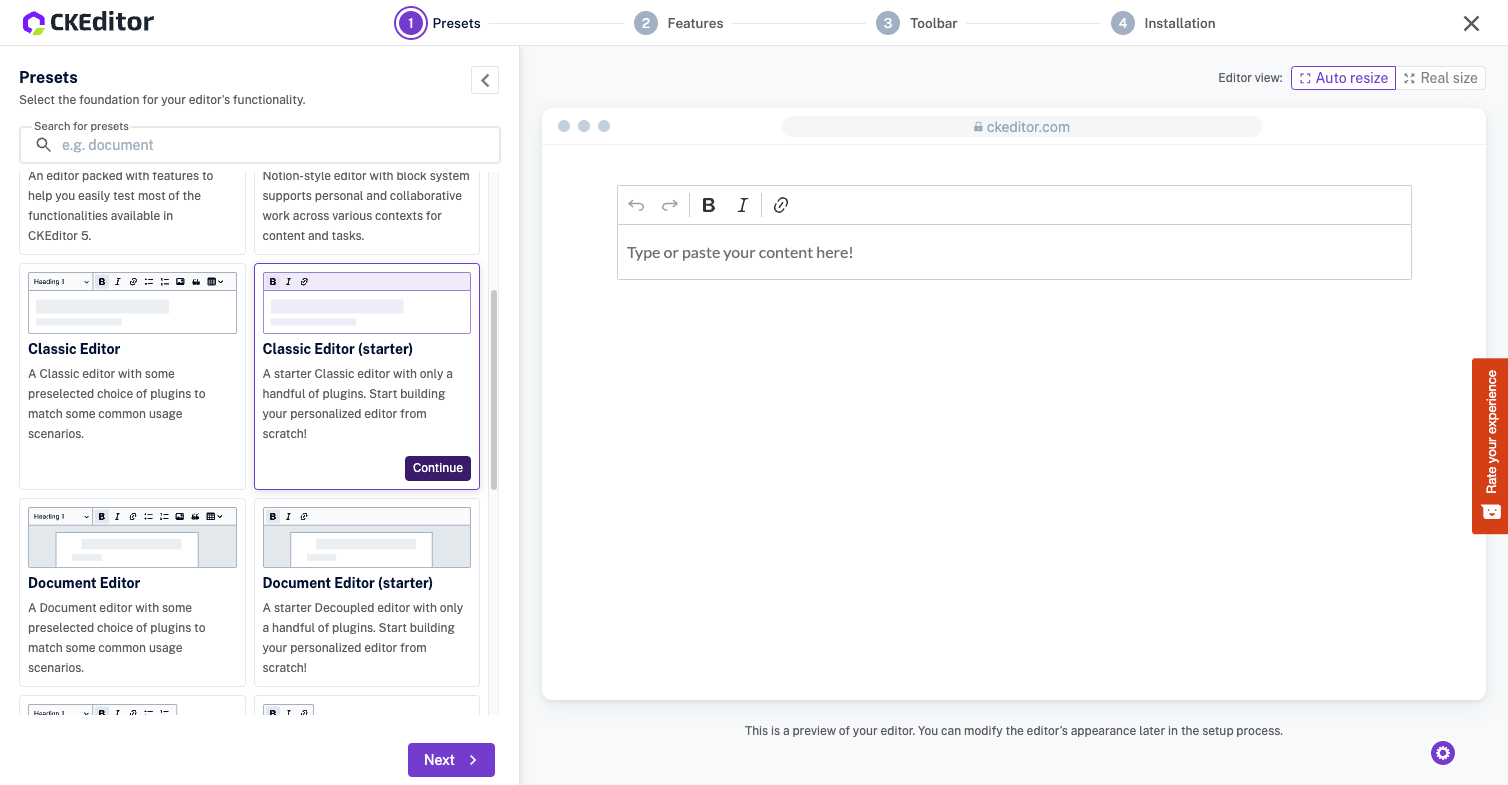
Choose from the available presets. For this guide, we’ll use the Classic Editor (starter) for a simple setup. Click Next to continue.
Step 2: Selecting Features
Once completed, it’s time to select the features for our starter!
The Builder offers two views for feature selection — Basic for new users and Advanced for those familiar with CKEditor.
Before moving forward and selecting the features for our editor, let’s analyze what’s needed for the custom invoice generator use case.
For our invoice generator, the following elements are essential:
- Tables: For organizing the invoice items
- Lists: To list items within the invoice
- Headings: For titles such as “Bill To” and “Performed Work”
- Links: To add references or payment links
- Text Styling: Including bold and italic text for emphasis
Some features were already pre-selected when we selected the Classic Editor, such as Links and Text Styling. We’ll need to activate the remaining features manually:
- Tables
- Lists
- Headings
With that in mind, let’s activate the missing features by selecting those.
To experience the full power of CKEditor, let’s include some premium features:
- Templates: To generate invoice templates
- Merge Fields: To use variables for reusable data
- Export to PDF: For downloading the generated invoice as a PDF file
That’s how straightforward it is to configure the editor’s foundation! The best part is seeing the output in real-time, which you can interact with to verify that it fits your needs.
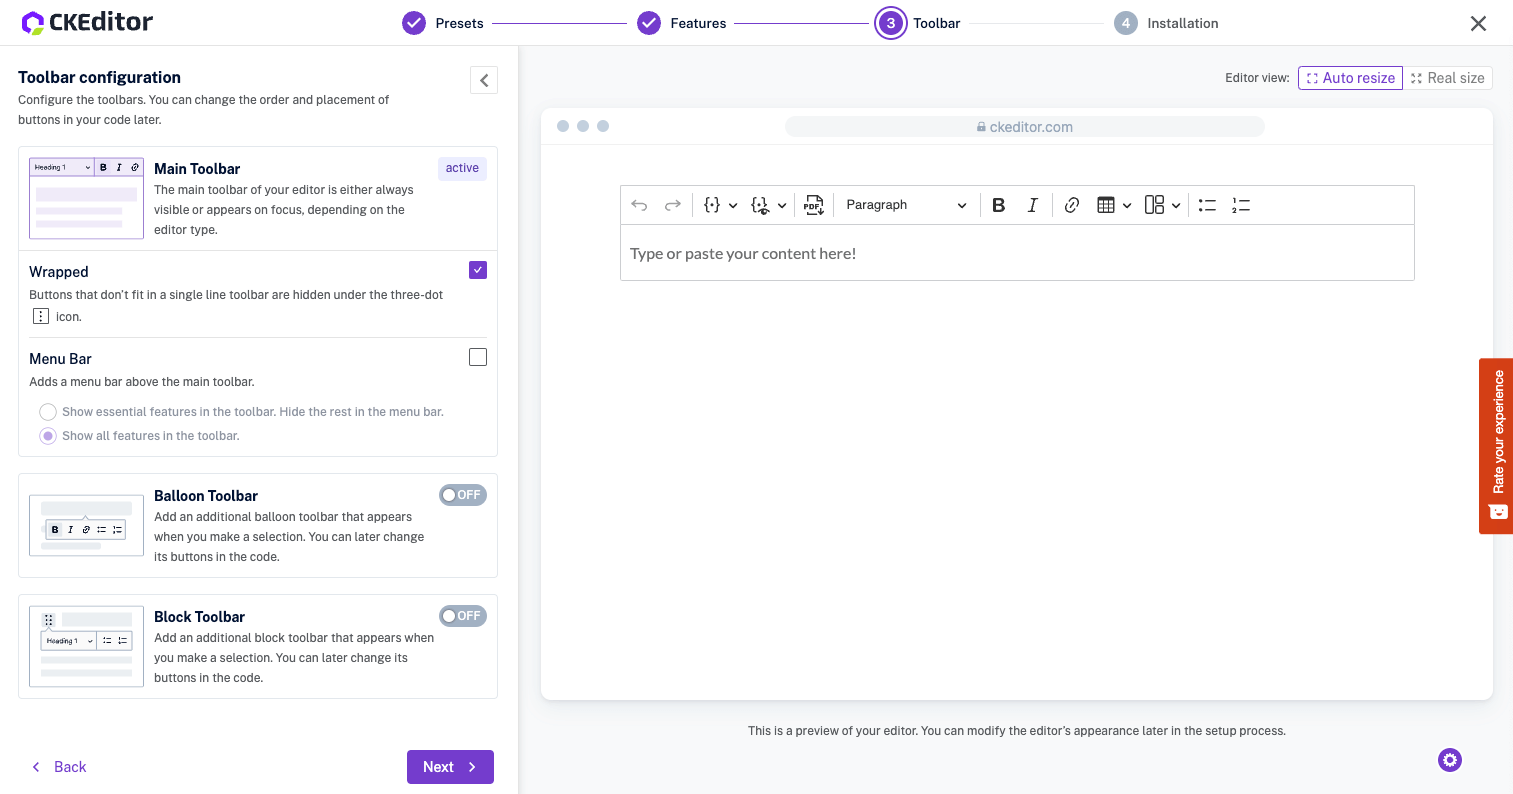
Step 3: Configuring the Toolbar
The last configuration step is related to the editor toolbar.
You can customize the toolbar’s behavior, such as collapsing buttons or adding a balloon toolbar for selected text. In this tutorial, we’ll keep the default toolbar configuration. Click Next to proceed.
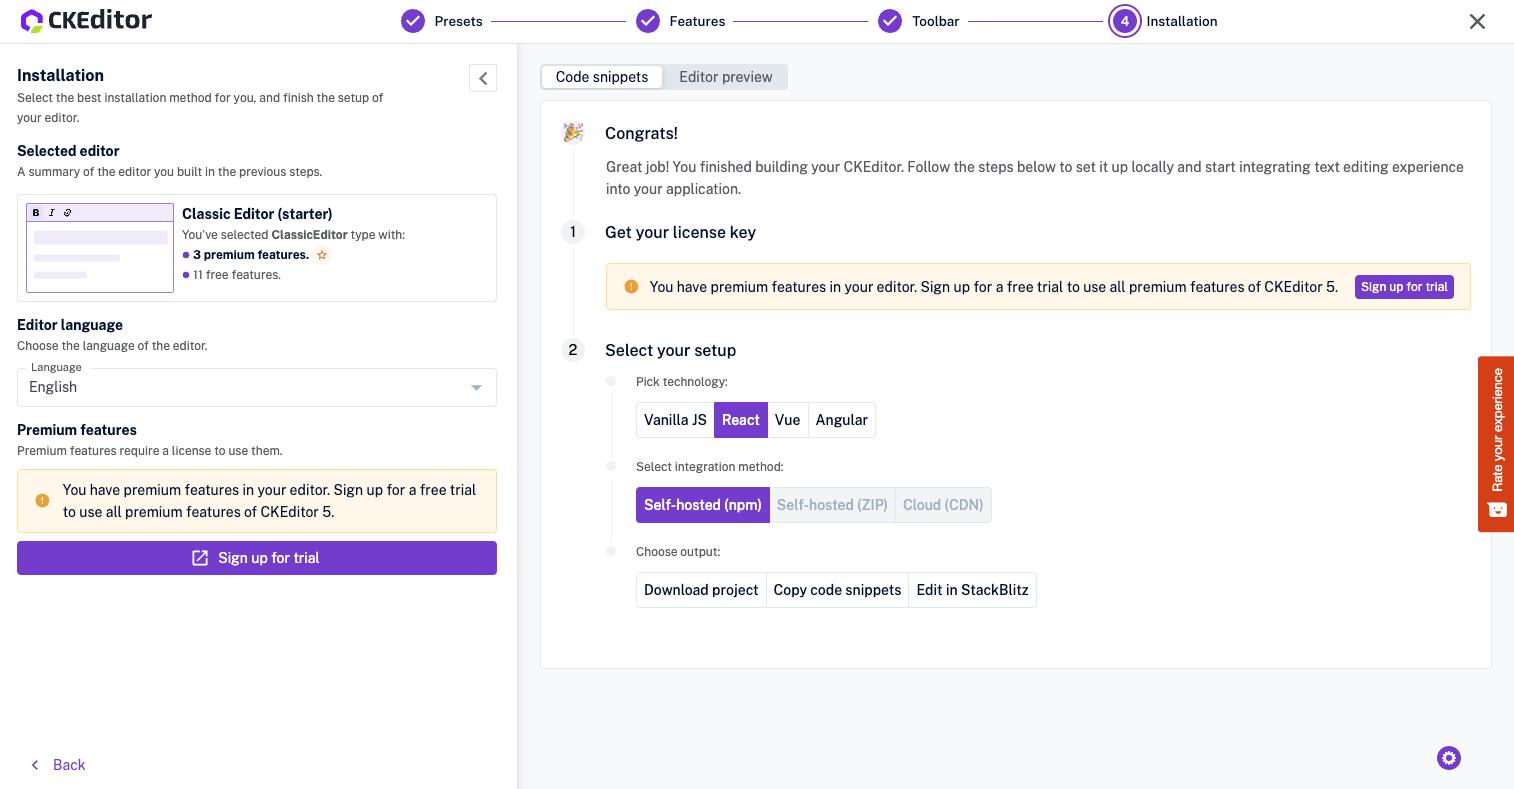
Step 4: Configuring the Project
As the final step, after building your editor, we need to configure the project. Choose your desired technology, integration method, and output. In our case, we would go with the following:
- Technology: React
- Integration Method: Self-hosted
- Output: Downloadable project
Modifying the Default Configuration
Now, let’s explore the generated starter project.
Since we selected React during configuration, we have a basic minimal React application with Vite and CKEditor as dependencies. The App.jsx file contains the editor configuration.
To ensure CKEditor functions in your React application, two things are crucial:
editorConfig: This object contains all necessary configuration settingsCKEditorComponent: This component is declared in the markup and requires two props:config: To pass theeditorConfigobjecteditor: Prefilled withClassicEditor, the type of editor selected during the configuration
Configuring Default Headings for Tables
Now, let’s modify our starter to be more tailored to the custom invoice generator use case.
Let’s start with configuring the default headings for the table.
We’ll use multiple tables for our invoices, and we want all of those tables to follow a similar rule - the first row is a heading row by default. Locate the table configuration in your CKEditor setup and add the following code:
table: {
	defaultHeadings: { rows: 1 }
}
This code ensures the first row of your table is a header by default.
Enhancing the Invoice Generator with Premium Features
Now that our project is solid, let’s enhance it with some advanced features.
Using Templates
Creating invoices can be repetitive, so utilizing a template can save a lot of time. CKEditor’s templating feature is a premium option requiring a license key. Since we selected premium features earlier, it’s already imported and configured.
If you need a license key, you can refer to the documentation to learn how to obtain one.
Since we selected some premium features during the configuration process, we don’t need to install additional packages or add extra imports. The features we selected are already imported and configured in our editor.
If we navigate to the browser and press the template button, we can see that only one default template is available, so let’s create the invoice template.
To do that, we need to locate the template definitions in the config:
template: {
	definitions: [
		{
		title: 'Introduction',
		description: 'Simploe intriduction to an article',
		data: `<h2>Introduction</h2><p>In today's fast-paced world, keeping up with the latest trends and insights is essential for both personal growth and professional development. This article aims to shed light on a topic that resonates with many, providing valuable information and actionable advice. Whether you're seeking to enhance your knowledge, improve your skills, or simply stay informed, our comprehensive analysis offers a deep dive into the subject matter, designed to empower and inspire our readers.</p>`
		},
	]
}
Now, we can replace the data of the demo template with the invoice.
template: {
	definitions: [
		{
			title: 'Invoice',
			description: 'Simple and clean invoice',
			data: `<h1 style="text-align:center;">
						Invoice #1
					</h1>
					<figure class="table" style="width:100%;">
						<table style="border-style:none;">
							<thead>
								<tr>
									<th style="border-style:none;">
										Sender
									</th>
									<th style="border-style:none;">
										Bill To
									</th>
								</tr>
							</thead>
							<tbody>
								<tr>
									<td style="border-style:none;">
										<p>
											<strong>John Doe</strong><br>
											1234 Street Name<br>
											City, State, 56789<br>
											<strong>Email</strong>: sender@example.com
										</p>
										<p>
											<strong>Phone</strong>: (123) 456-7890
										</p>
									</td>
									<td style="border-style:none;">
										<p>
											<strong>Client Name</strong><br>
											5678 Client Street<br>
											Client City, Client State, 98765
										</p>
										<p>
											<strong>Email</strong>: client@example.com
										</p>
										<p>
											<strong>Phone</strong>: (987) 654-3210
										</p>
									</td>
								</tr>
							</tbody>
						</table>
					</figure>
					<figure class="table" style="width:100%;">
						<table style="border-style:none;">
							<tbody>
								<tr>
									<td style="border-style:none;">
										<strong>Invoice Date:</strong>
									</td>
									<td style="border-style:none;">
										<strong>Due Date:</strong>
									</td>
									<td style="border-style:none;">
										<strong>Payment Method:</strong>
									</td>
								</tr>
								<tr>
									<td style="border-style:none;">
										2024-06-01
									</td>
									<td style="border-style:none;">
										2024-06-01
									</td>
									<td style="border-style:none;">
										Bank Transfer
									</td>
								</tr>
							</tbody>
						</table>
					</figure>
					<figure class="table" style="width:100%;">
						<table>
							<thead>
								<tr>
									<th>
										Description
									</th>
									<th>
										Quantity
									</th>
									<th>
										Unit Price
									</th>
									<th>
										Amount
									</th>
								</tr>
							</thead>
							<tbody>
								<tr>
									<td>
										Website Design & Development
									</td>
									<td>
										1
									</td>
									<td>
										$1000.00
									</td>
									<td>
										$1000.00
									</td>
								</tr>
								<tr>
									<td>
										SEO Optimization
									</td>
									<td>
										1
									</td>
									<td>
										$300.00
									</td>
									<td>
										$300.00
									</td>
								</tr>
							</tbody>
						</table>
					</figure>
					<p style="text-align:right;">
						<strong>Subtotal: $1300.00</strong>
					</p>
					<p style="text-align:right;">
						<strong>Tax (10%): $130.00</strong>
					</p>
					<p style="text-align:right;">
						<strong>Total: $1439.00</strong>
					</p>
					<h2>
						<strong>Bank Acoount Details</strong>
					</h2>
					<ul>
						<li>
							<strong>Bank Name: </strong>XYZ Bank
						</li>
						<li>
							<strong>Account Number: </strong>123456789
						</li>
						<li>
							<strong>SWIFT Code: </strong>XYZBANK123
						</li>
					</ul>
					<p style="text-align:center;">

					</p>
					<p style="text-align:center;">
						Thank you for your business!
					</p>
					<p style="text-align:center;">
						If you have any questions about this invoice, please contact us at sender@example.com or (123) 456-7890
					</p>`
		},
	]
},
Since template definitions are stored in an array, you can create as many templates as needed.
Adding Slash Commands Feature
Let’s say you missed adding a feature during the initial setup, like the Slash Commands, which allow inserting templates by pressing /. Let’s fix that!
Import the SlashCommand from the premium features package and include it in the plugins array:
import { SlashCommand, ... } from 'ckeditor5-premium-features';plugins: [
SlashCommand,
...
],Customize it to show only your template when pressing /:
slashCommand: {
  removeCommands: [
    "heading",
    "paragraph",
    "bulletedList",
    "numberedList",
    "insertTable",
  ];
}
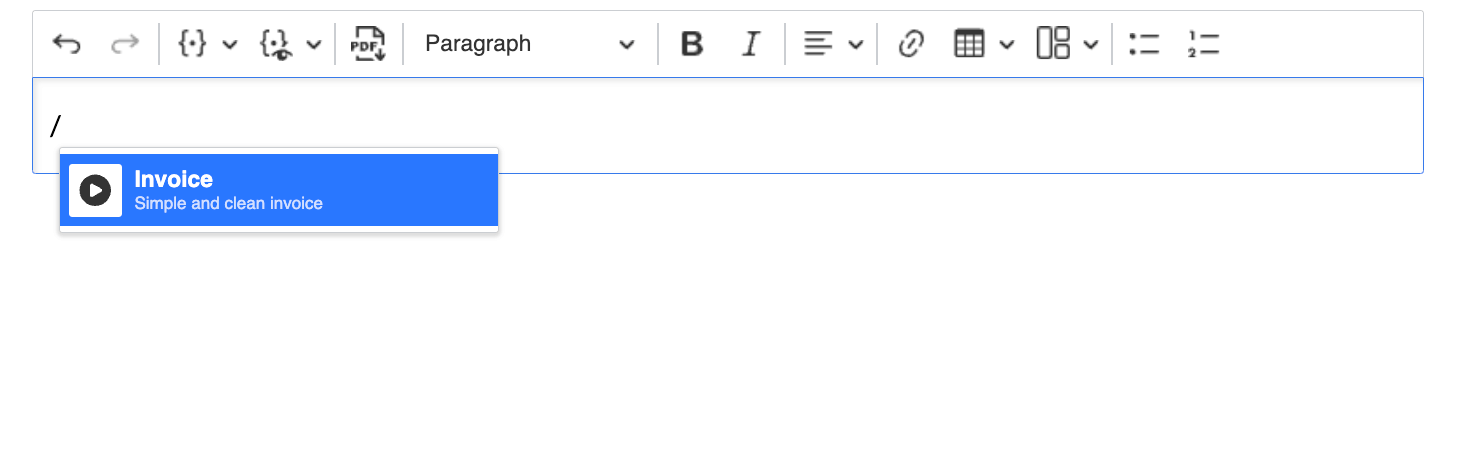
Now, if we press slash in the editor, we can see that only our template is accessible with the slash command.
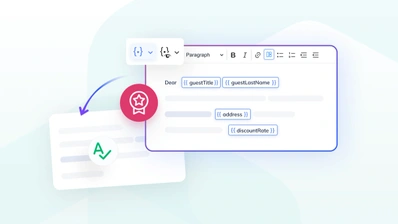
Merge Fields
Merge fields is a powerful CKEditor feature that allows you to create templates with dynamic, variable content.
This is particularly useful for invoices, where certain fields, such as the client’s name, invoice date, or item descriptions, might change for each document but follow a consistent format.
Merge fields act as placeholders within your document. This makes it easier to create standardized documents like invoices, where only certain pieces of information need to be customized.
Since we enabled this feature in the Builder, we don’t need to import the plugin and update the configuration of our editor, it’s already there!
Let’s define our Merge Fields.
Each field has an id, label, and defaultValue:
mergeFields: {
	definitions: [
		{
			id: 'myName',
			label: 'My Name',
			defaultValue: 'John Doe'
		},
		{
			id: 'invoiceDate',
			label: 'Invoice Date',
			defaultValue: '2024-06-01'
		},
	]
},
Once defined, these merge fields can be inserted into the invoice template.
template: {
	definitions: [
		{
			title: 'Invoice',
			description: 'Simple and clean invoice',
			data: `<h1 style="text-align:center;">
						Invoice #1
					</h1>
					<figure class="table" style="width:100%;">
						<table style="border-style:none;">
							<thead>
								<tr>
									<th style="border-style:none;">
										Sender
									</th>
									<th style="border-style:none;">
										Bill To
									</th>
								</tr>
							</thead>
							<tbody>
								<tr>
									<td style="border-style:none;">
										<p>
											<strong>{{myName}}</strong><br>
											1234 Street Name<br>
											City, State, 56789<br>
											<strong>Email</strong>: sender@example.com
										</p>
										<p>
											<strong>Phone</strong>: {{myNumber}}
										</p>
									</td>
									<td style="border-style:none;">
										<p>
											<strong>Client Name</strong><br>
											5678 Client Street<br>
											Client City, Client State, 98765
										</p>
										<p>
											<strong>Email</strong>: client@example.com
										</p>
										<p>
											<strong>Phone</strong>: (987) 654-3210
										</p>
									</td>
								</tr>
							</tbody>
						</table>
					</figure>
					<figure class="table" style="width:100%;">
						<table style="border-style:none;">
							<tbody>
								<tr>
									<td style="border-style:none;">
										<strong>Invoice Date:</strong>
									</td>
									<td style="border-style:none;">
										<strong>Due Date:</strong>
									</td>
									<td style="border-style:none;">
										<strong>Payment Method:</strong>
									</td>
								</tr>
								<tr>
									<td style="border-style:none;">
										{{invoiceDate}}
									</td>
									<td style="border-style:none;">
										2024-06-01
									</td>
									<td style="border-style:none;">
										Bank Transfer
									</td>
								</tr>
							</tbody>
						</table>
					</figure>
					<figure class="table" style="width:100%;">
						<table>
							<thead>
								<tr>
									<th>
										Description
									</th>
									<th>
										Quantity
									</th>
									<th>
										Unit Price
									</th>
									<th>
										Amount
									</th>
								</tr>
							</thead>
							<tbody>
								<tr>
									<td>
										Website Design & Development
									</td>
									<td>
										1
									</td>
									<td>
										$1000.00
									</td>
									<td>
										$1000.00
									</td>
								</tr>
								<tr>
									<td>
										SEO Optimization
									</td>
									<td>
										1
									</td>
									<td>
										$300.00
									</td>
									<td>
										$300.00
									</td>
								</tr>
							</tbody>
						</table>
					</figure>
					<p style="text-align:right;">
						<strong>Subtotal: $1300.00</strong>
					</p>
					<p style="text-align:right;">
						<strong>Tax (10%): $130.00</strong>
					</p>
					<p style="text-align:right;">
						<strong>Total: $1439.00</strong>
					</p>
					<h2>
						<strong>Bank Acoount Details</strong>
					</h2>
					<ul>
						<li>
							<strong>Bank Name: </strong>XYZ Bank
						</li>
						<li>
							<strong>Account Number: </strong>123456789
						</li>
						<li>
							<strong>SWIFT Code: </strong>XYZBANK123
						</li>
					</ul>
					<p style="text-align:center;">

					</p>
					<p style="text-align:center;">
						Thank you for your business!
					</p>
					<p style="text-align:center;">
						If you have any questions about this invoice, please contact us at sender@example.com or {{myNumber}}
					</p>`
		},
	]
},Using the PDF Export Plugin
Exporting content to PDF is essential when creating documents like invoices that need to be distributed or archived in a fixed format.
CKEditor offers a PDF export feature that integrates directly into the editor, and we have already included it when using the Builder!
The basic configuration includes the following:
- Stylesheets: CSS files that contain the styles you want to affect the look of the invoice
- Filename: The desired filename of the generated PDF file
Converter Options: Some properties that affect the generated PDF file, such as format and page_orientation
exportPdf: {
stylesheets: [
/* This path should point to application stylesheets. */
/* See: <https://ckeditor.com/docs/ckeditor5/latest/features/converters/export-pdf.html> */
'./App.css',
/* Export PDF needs access to stylesheets that style the content. */
'<https://cdn.ckeditor.com/ckeditor5/43.0.0/ckeditor5.css>',
'<https://cdn.ckeditor.com/ckeditor5-premium-features/43.0.0/ckeditor5-premium-features.css>'
],
fileName: 'invoice.pdf',
converterOptions: {
format: 'A4',
margin_top: '20mm',
margin_bottom: '20mm',
margin_right: '24mm',
margin_left: '24mm',
page_orientation: 'portrait'
}
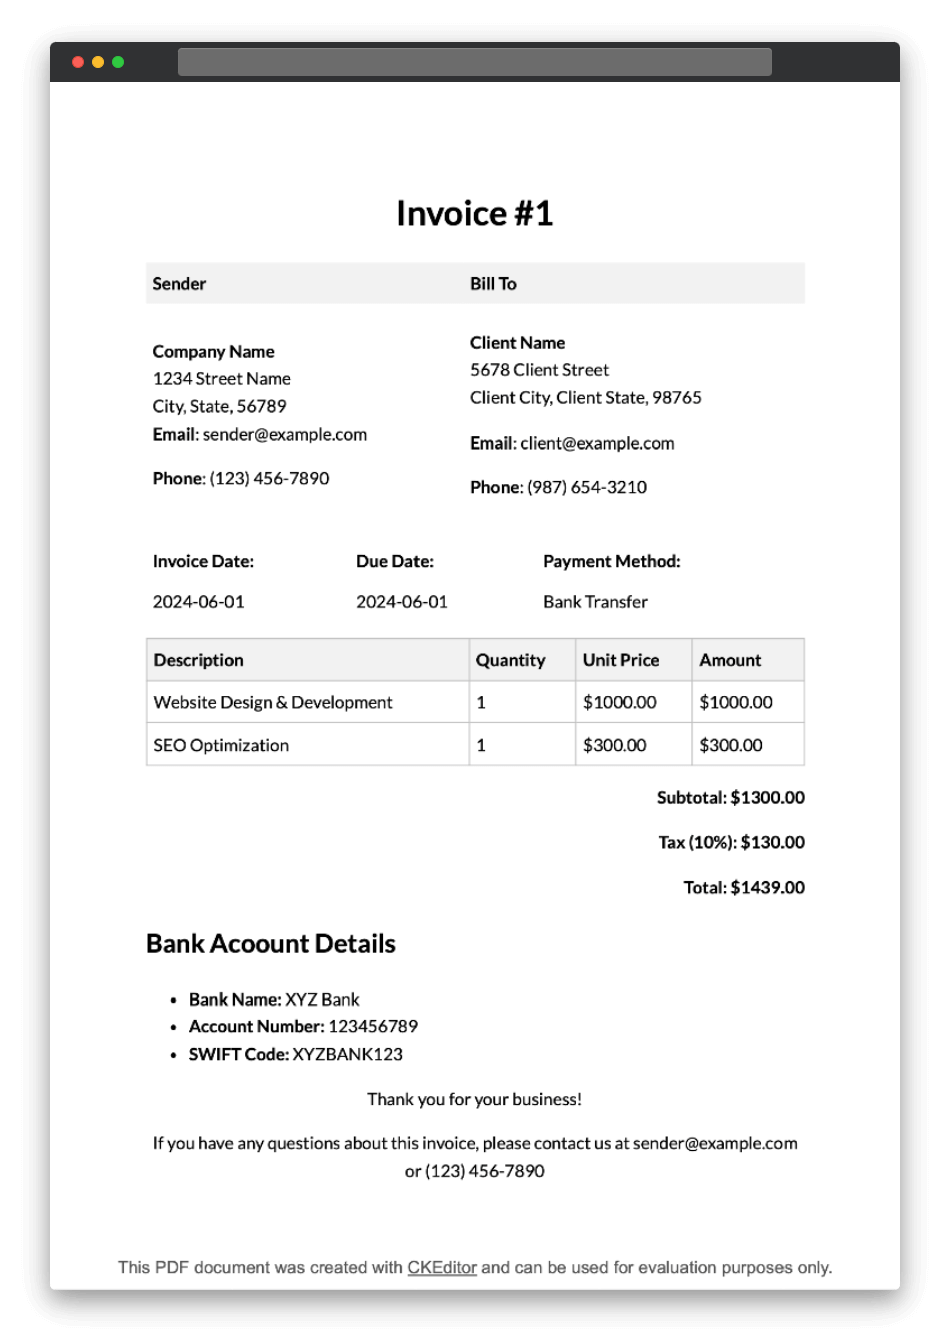
},Now, if we use our template, fill in the necessary data, and press the PDF icon in the toolbar, the file will be saved on our machine!

Conclusion
In this guide, we’ve explored how to create a powerful, custom invoice generator using CKEditor, with features like merge fields and PDF export. This application is designed to simplify your workflow, ensure document consistency, and reduce manual effort.
CKEditor’s extensive plugin ecosystem allowed us to extend the editor further to meet various content creation needs, making it a solid solution for any project.
Ready to try it yourself? Start a free trial of CKEditor today and see how you can combine the extensive list of available features into something great, like a custom invoice generator!