Autocomplete
This feature was introduced in CKEditor 4.10. It is provided through optional plugins that are not included in the CKEditor 4 presets available from the Download site and need to be added to your custom build with online builder.
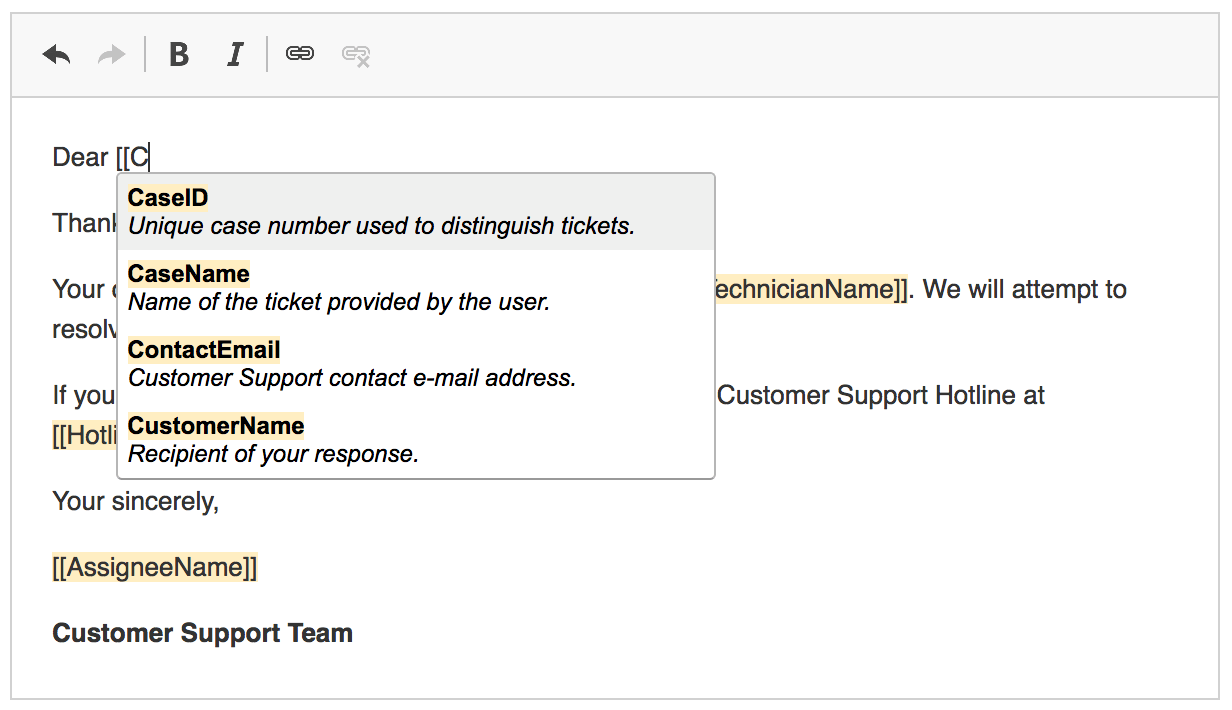
The Autocomplete feature provides contextual completion functionality for custom text matches based on user input. Every time the user types a pre-configured marker, such as @ or #, they get information about available autocomplete options displayed in a dedicated dropdown. The provided suggestion can be quickly selected and inserted into content.

This feature is implemented using the following plugins:
- Autocomplete – Provides smart, context-aware completion feature for custom text matches based on user input.
- Text Watcher – Checks whether an editor’s text change matches the chosen criteria.
- Text Match – Allows to search
CKEDITOR.dom.rangefor matching text.
This feature is a base for implementing specialized autocomplete features, such as mentions, emoji or custom implementations.
# Usage
The Autocomplete plugin shows a dropdown with available options every time the user types a matching text.
When you press Enter, Tab or any other customized autocomplete_commitKeystrokes, the suggested value will be inserted into the editor.

# Implementing Custom Autocomplete
In this tutorial you will create a simple autocomplete implementation in the form of an autotag plugin.
You can also download the entire autotag plugin folder with the fully commented source code.
Autocomplete feature uses two callbacks to customize matching and data feed:
- A text test callback.
- A data callback.
They are required to set up an autocomplete instance which will be immediately attached to the editor after its creation. Autocomplete can be configured by a configDefinition object passed to the autocomplete constructor.
// You will update this object in the course of this tutorial.
var config = {};
# Text Test Callback
This is a function which should return a fragment of text (typed in the editor) that should be autocompleted. This function works best with the text match feature which was introduced with the Autocomplete plugin.
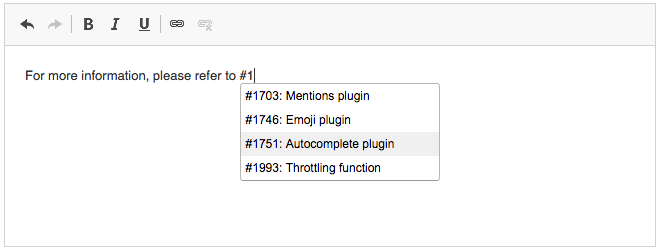
In this example you will create the autocomplete feature for GitHub tickets. Depending on your use case, you could create an autocomplete instance using the following code:
// Called when the user types in the editor or moves the caret.
// The range represents the caret position.
function textTestCallback( range ) {
    // You do not want to autocomplete a non-empty selection.
    if ( !range.collapsed ) {
        return null;
    }

    // Use the text match plugin which does the tricky job of performing
    // a text search in the DOM. The matchCallback function should return
    // a matching fragment of the text.
    return CKEDITOR.plugins.textMatch.match( range, matchCallback );
}

// Returns the position of the matching text.
// It matches a word starting from the '#' character
// up to the caret position.
function matchCallback( text, offset ) {
    // Get the text before the caret.
    var left = text.slice( 0, offset ),
        // Will look for a '#' character followed by a ticket number.
        match = left.match( /#\d*$/ );

    if ( !match ) {
        return null;
    }
    return { start: match.index, end: offset };
}

config.textTestCallback = textTestCallback;
# Data Callback
This is a function which should return (through its callback) suggestion data for the current query string. This function will only be called if the previous textTestCallback returned the matching text.
// The itemsArray variable is the example "database".
var itemsArray = [
    // (...)
    { id: 1703, name: 'Mentions plugin', type: 'feature' },
    { id: 1751, name: 'Autocomplete plugin', type: 'feature' },
    { id: 1746, name: 'Emoji plugin', type: 'feature' },
    { id: 2062, name: 'Emoji list button', type: 'feature' }
    // (...)
];

// Returns (through its callback) the suggestions for the current query.
function dataCallback( matchInfo, callback ) {
    // Remove the '#' tag.
    var query = matchInfo.query.substring( 1 );

    // Simple search.
    // Filter the entire items array so only the items that start
    // with the query remain.
    var suggestions = itemsArray.filter( function( item ) {
        return String( item.id ).indexOf( query ) == 0;
    } );

    // Note: The callback function can also be executed asynchronously
    // so dataCallback can do an XHR request or use any other asynchronous API.
    callback( suggestions );
}

config.dataCallback = dataCallback;
Pay attention to the data passed into the callback argument — the id and name properties are required. You should always provide a correct object structure containing a unique item ID. Although the name property is required when using the Autocomplete plugin with the default item and output templates, it can be changed by custom templating.
# Templating
Autocomplete comes with a highly customizable templating feature. You can change the dropdown template and the accepted hint to get very different results.
For example, you can use the item template configuration option to get a more interesting dropdown shown in the example above:
config.itemTemplate = '<li data-id="{id}" class="issue-{type}">#{id}: {name}</li>';
And create some custom output template:
config.outputTemplate = '<a href="https://github.com/ckeditor/ckeditor4/issues/{id}">{name} (#{id})</a> ';
Note that when creating a custom item template you should use a <li> element with the data-id="{id}" attribute.
# Throttling
For performance reasons the Autocomplete plugin implements throttling that mitigates text checks. If you care about the number of requests made to your endpoint service, you can set a higher level of throttling. Note that this could cause a visible delay for the autocomplete dropdown.
config.throttle = 200;
Throttling implementation is based on the throttle feature. Refer to its documentation if you need more information about how it works.
# Final Step
There is only one thing left to do — attach autocomplete to the editor along with its custom configuration. It can be done by simply creating a new autocomplete instance.
new CKEDITOR.plugins.autocomplete( editor, config );
You can review and download the complete solution in the documentation code samples repository.

# Autocomplete Demos
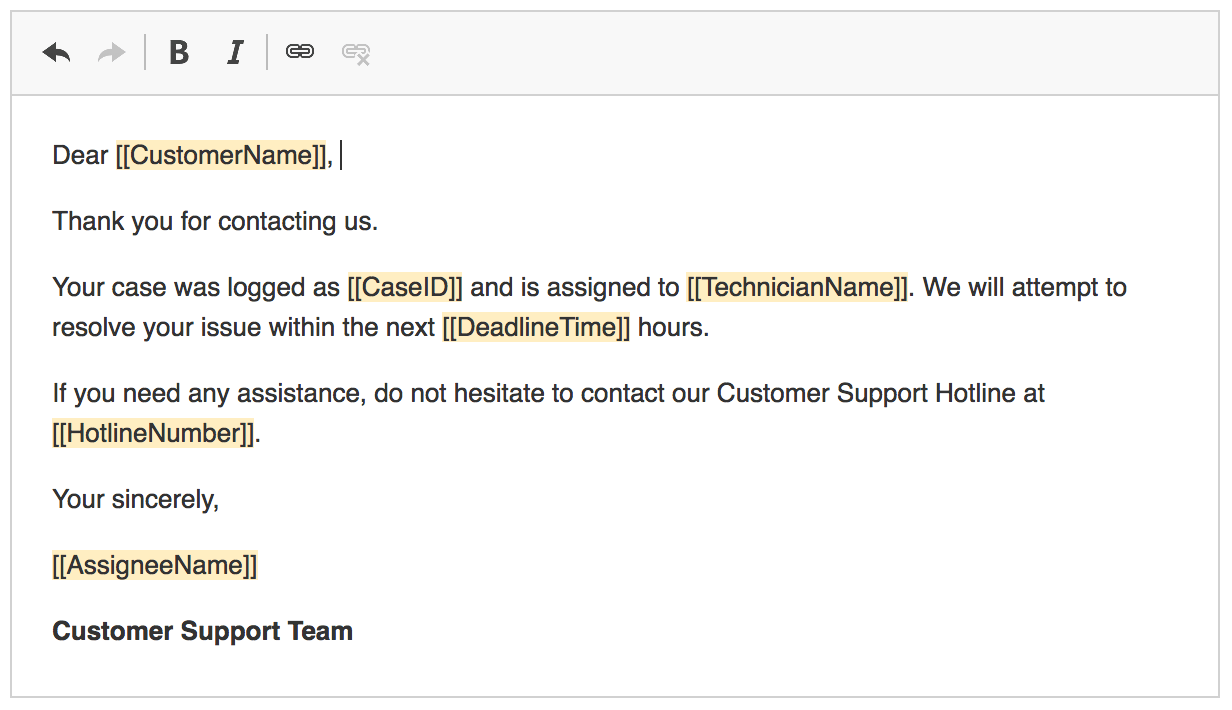
See the working “Autocomplete” sample to check how autocomplete helps create a useful templating system, saving your time and limiting the opportunity to make mistakes.
Check the “Autotag Plugin (Creating a Custom Autocomplete Plugin)” sample to see the working Autotag plugin created in this tutorial.
# Related Features
Refer to the following resources for more information about autocomplete implementations:
- The Mentions and Tags article explains how to implement smart completion for user input based on a chosen marker character.
- The Emoji article explains how to provide support for autocompleting emoji ideograms.


