Authentication
CKBox, like other CKEditor Cloud Services, uses JWT tokens for authentication and authorization. All these tokens are generated on your application side and signed with a shared secret that you can obtain in the Customer Portal. CKBox is a commercial product and in order to use it, you need to obtain a license. The access credentials required to configure the tokenUrl can be found in the Customer Portal.
CKBox is a commercial product and you need to obtain a license to use it.
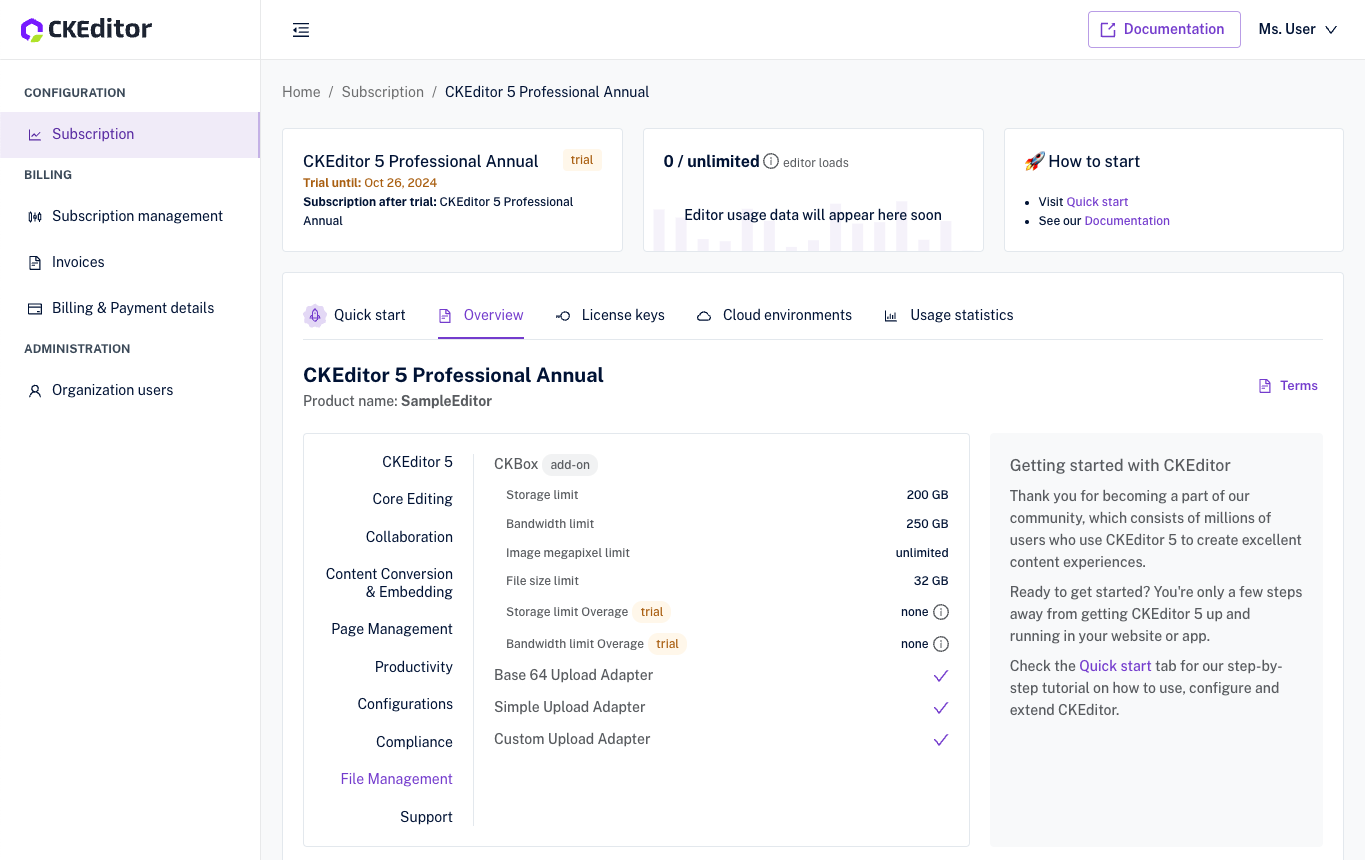
If you wish to test it, you can create an account by signing up for CKEditor Premium Features 14-day free trial, commitment-free.
To obtain the access credentials required to create the token endpoint, please log in to the Customer Portal. Then navigate to “Cloud environments”.

To obtain access credentials, first, you have to choose the environment. Environments are independent spaces for your data, and you can create any number of them. From the list of environments select the one that you want to manage or create a new one.

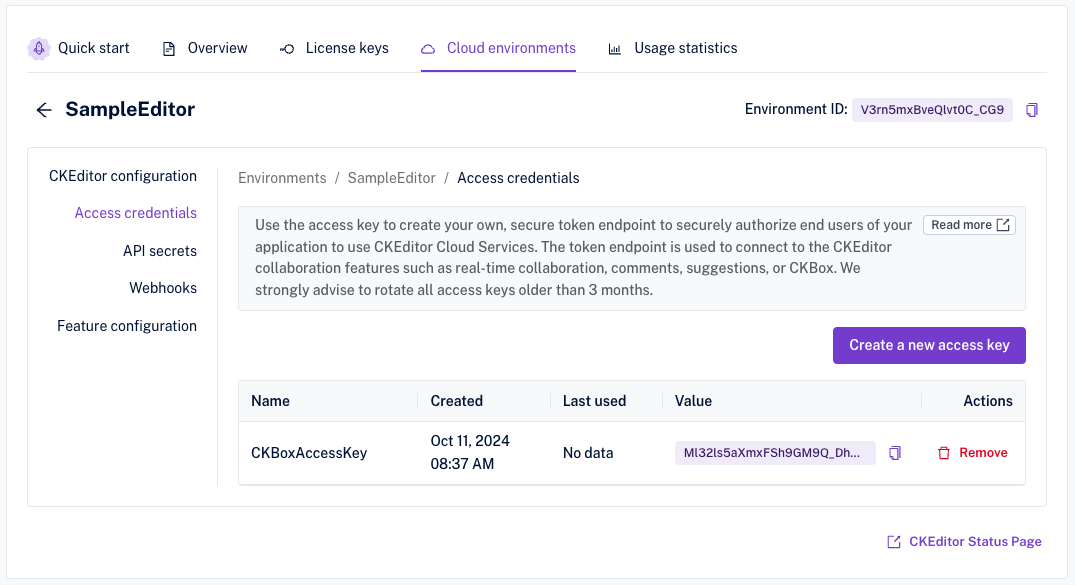
Next, go to the “Access credentials” tab and click the “Create a new access key” button.

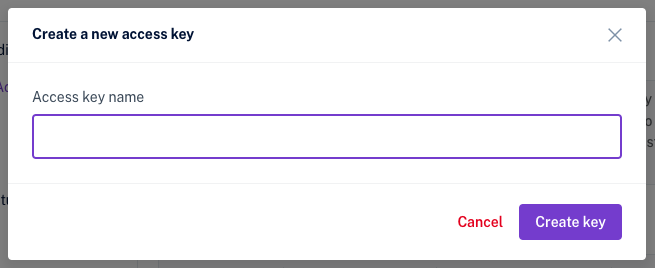
The modal will show up and will prompt for a name for the new access key. Provide the name and click the “Save” button.

The newly created access key will be present on the list of access keys.

For your safety, the access key value is partially obscured. You can copy the key value with the Copy icon next to the key.
Here you can also see the environment ID required to validate your istallation. It is located in the top right corner of the Cloud environments pane.
To read more about the concept of environments, please refer to the Environments management article.
With the environment and access credentials ready, you can create a security token endpoint. The role of this endpoint is to securely authorize end users of your application to use CKEditor Cloud Services only if they should have access to the content or action they are requesting.
If you prefer to jump straight to the code, please have a look at CKBox code sample.
Below are implementation examples in various languages:
We highly recommend using the libraries listed on jwt.io to create the token.
If you encounter problems creating the token endpoint in another server-side language, or if you have any other suggestions regarding the documentation, please contact us.
If you are just starting, you may use the development token endpoint URL which is available out of the box and requires no coding on your side. The URL of the development token endpoint can be obtained easily in a few simple steps:
From the list of environments select the one that you want to manage or create a new one.

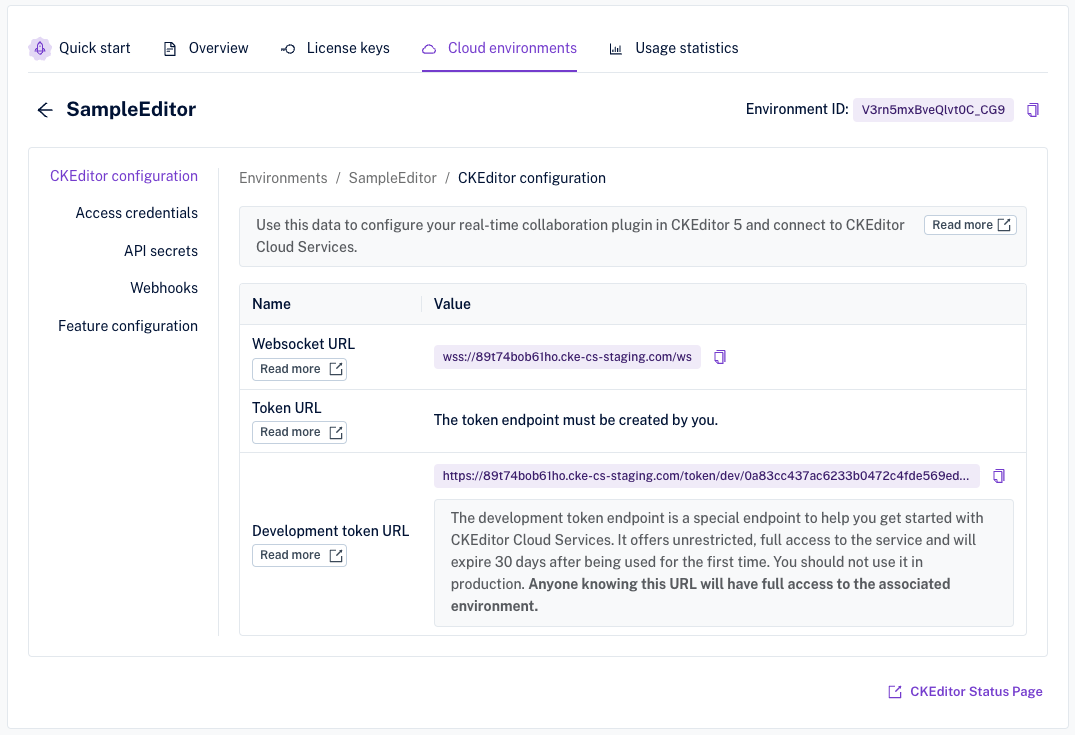
After choosing the environment, the development token URL will show up at the bottom of the “CKEditor configuration” section:

The development token endpoint is a special endpoint to help you get started with CKEditor Cloud Services. Please note the development token endpoint returns tokens with the CKBox administrator role. It offers unrestricted, full access to the service and will expire 14 days after being used for the first time. You should not use it in production. Anyone knowing this URL will have full access to the associated environment.
Payload properties
The following properties must be included in the JWT token payload:
aud– The environment ID, which is the identifier of the environment created in the Customer Portal.sub– The user ID, which is the unique identifier of the user for whom the token is issued.iat– A timestamp the token was issued at. Make sure thatiatis present and contains the correct time stated in seconds. Some JWT implementations do not include it by default. Additionally, the system time may be invalid, causing strange issues with tokens (see, for example, Docker for Mac time drift).auth– An object defining the user’s role. Allowed values areuserfor regular users andadminfor administrator users.
The payload example below will enable access to CKBox as administrator:
{
    "aud": "NQoFK1NLVelFWOBQtQ8A",
    "iat": 1511963669,
    "sub": "example-user-id",
    "auth": {
        "ckbox": {
            "role": "admin"
        }
    }
}
CKBox users are divided into two groups: regular users and administrators. Regular users can use all the features of the application allowing for file management (uploading, renaming, removing, etc.). Administrators additionally have access to the administration management panel, which allows configuring various aspects of the CKBox environment, like the available categories, their allowed extensions, and the quality of responsive images.
The user role is defined by setting an appropriate value in the auth.ckbox.role field of the token payload:
- if you want the user to be an administrator, set
auth.ckbox.roletoadmin"auth": { "ckbox": { "role": "admin" } }Copy code - for the regular user,
auth.ckbox.roleshould be set touser"auth": { "ckbox": { "role": "user" } }Copy code
The premium permissions feature lets the integrator assign permissions to regular users. It allows greater control over access and asset management rights.
Need more functionality? Take a survey and help us develop CKBox to suit your needs better!