 Websites management
This article explains how to manage a regular (paid) Easy Image subscription, where unlike in the free trial, it is possible to share a single plan of Easy Image across multiple websites and environments.
# Select subscription
From the list of available subscriptions in the CKEditor Ecosystem customer dashboard choose the subscription that you want to manage and press the “Manage” link.
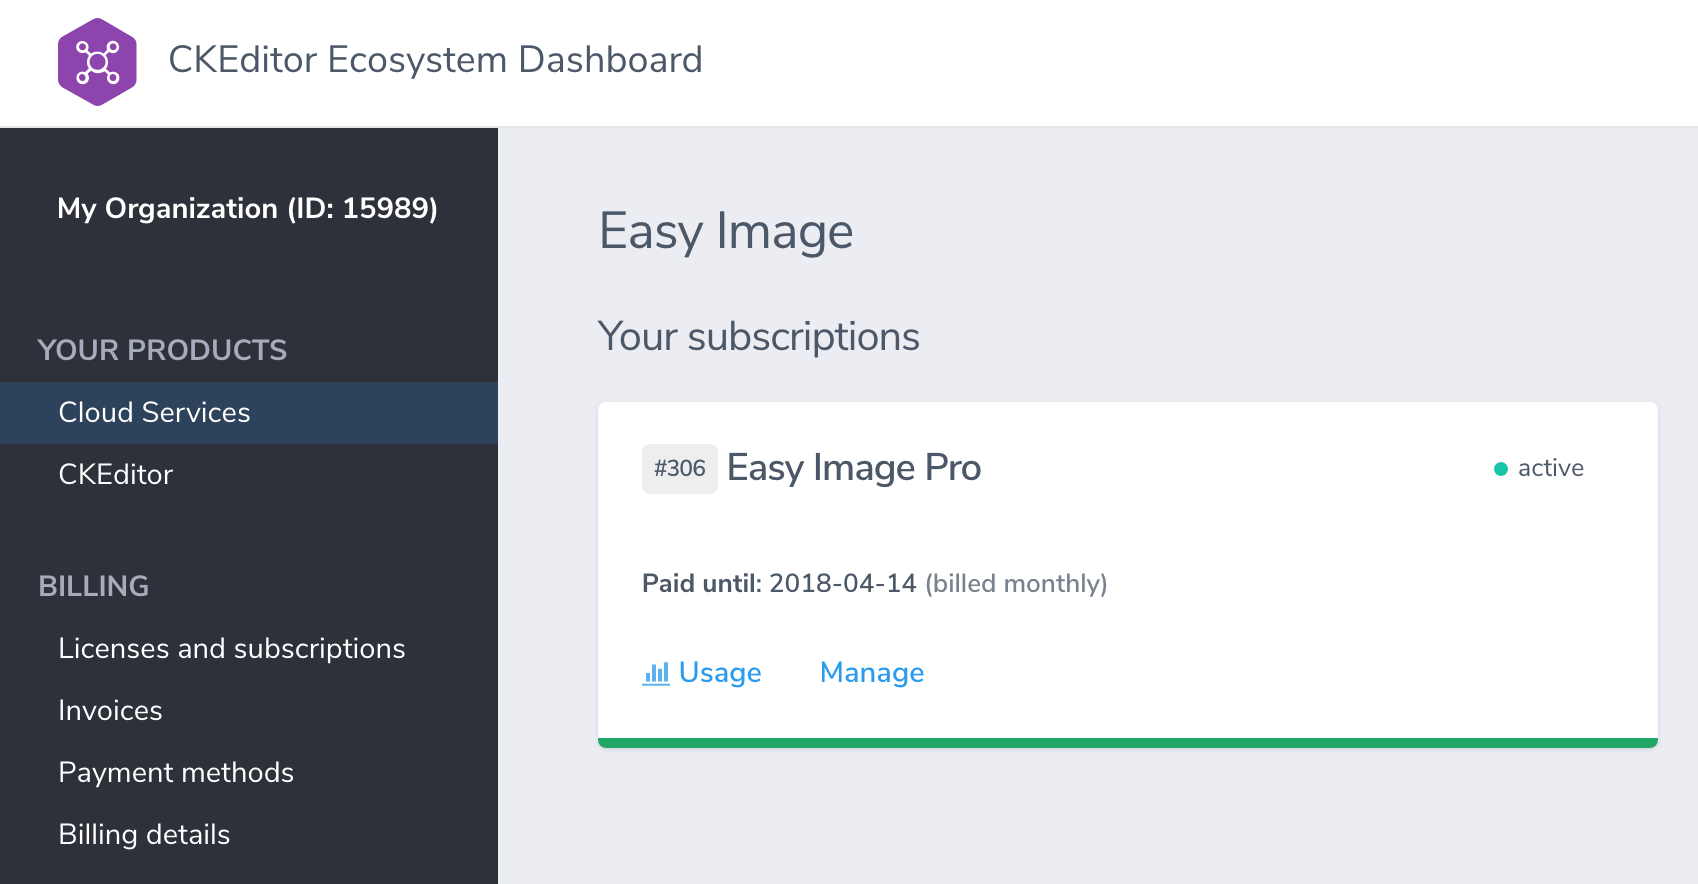
On the next page you will see the subscription parameters overview together with the management area below.
# Define a website
You can now define a website on which you would like to use Easy Image. At this stage you may provide just a human-friendly name which will let you recognize the website in the future (e.g. “My blog”) or a target domain name (if you know the target domain name already).
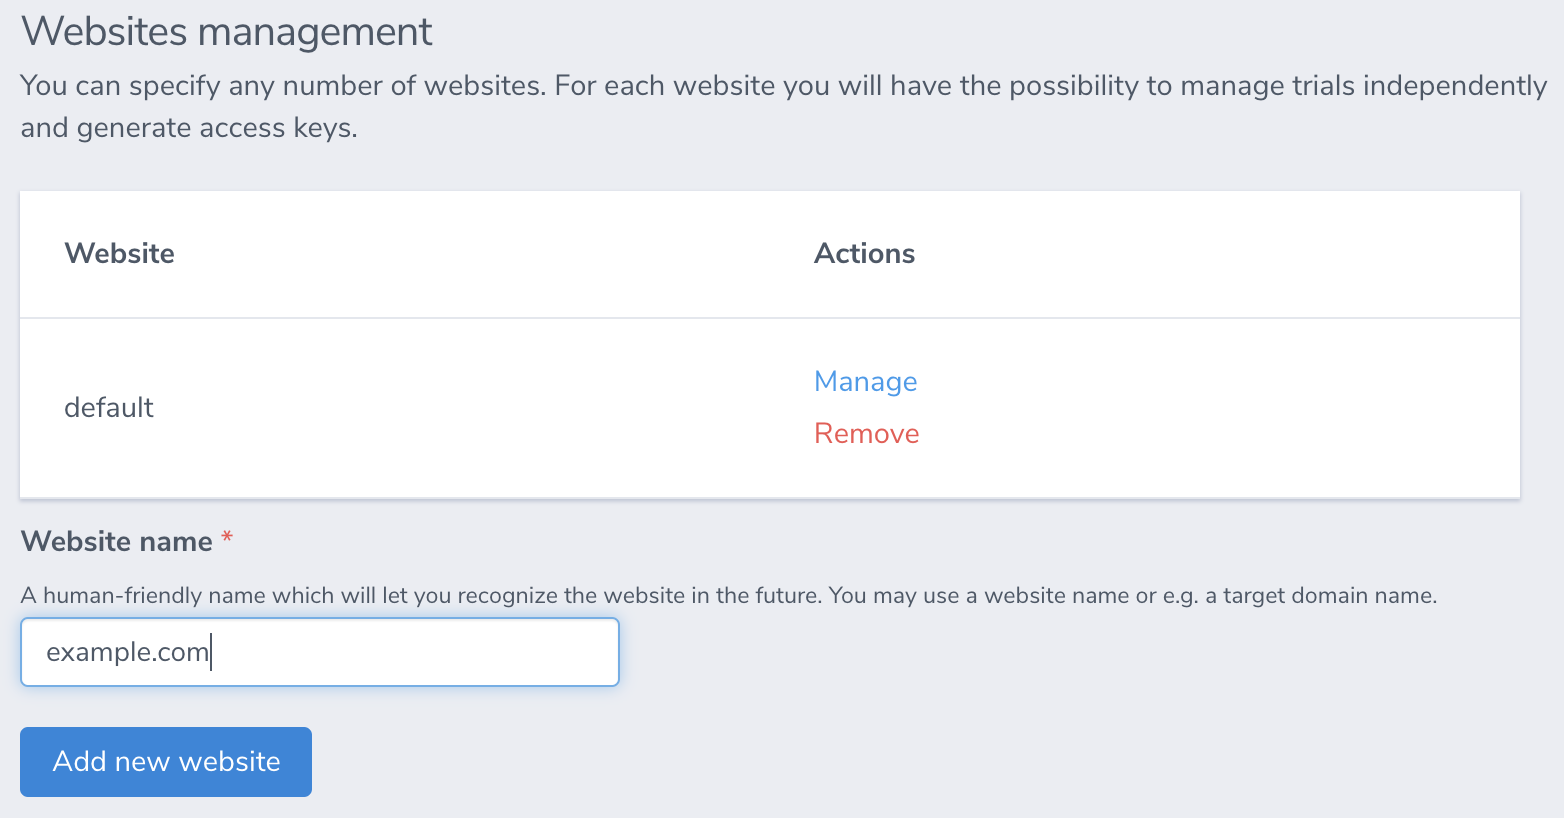
After successfully creating a website, you will see it on the list of available websites.
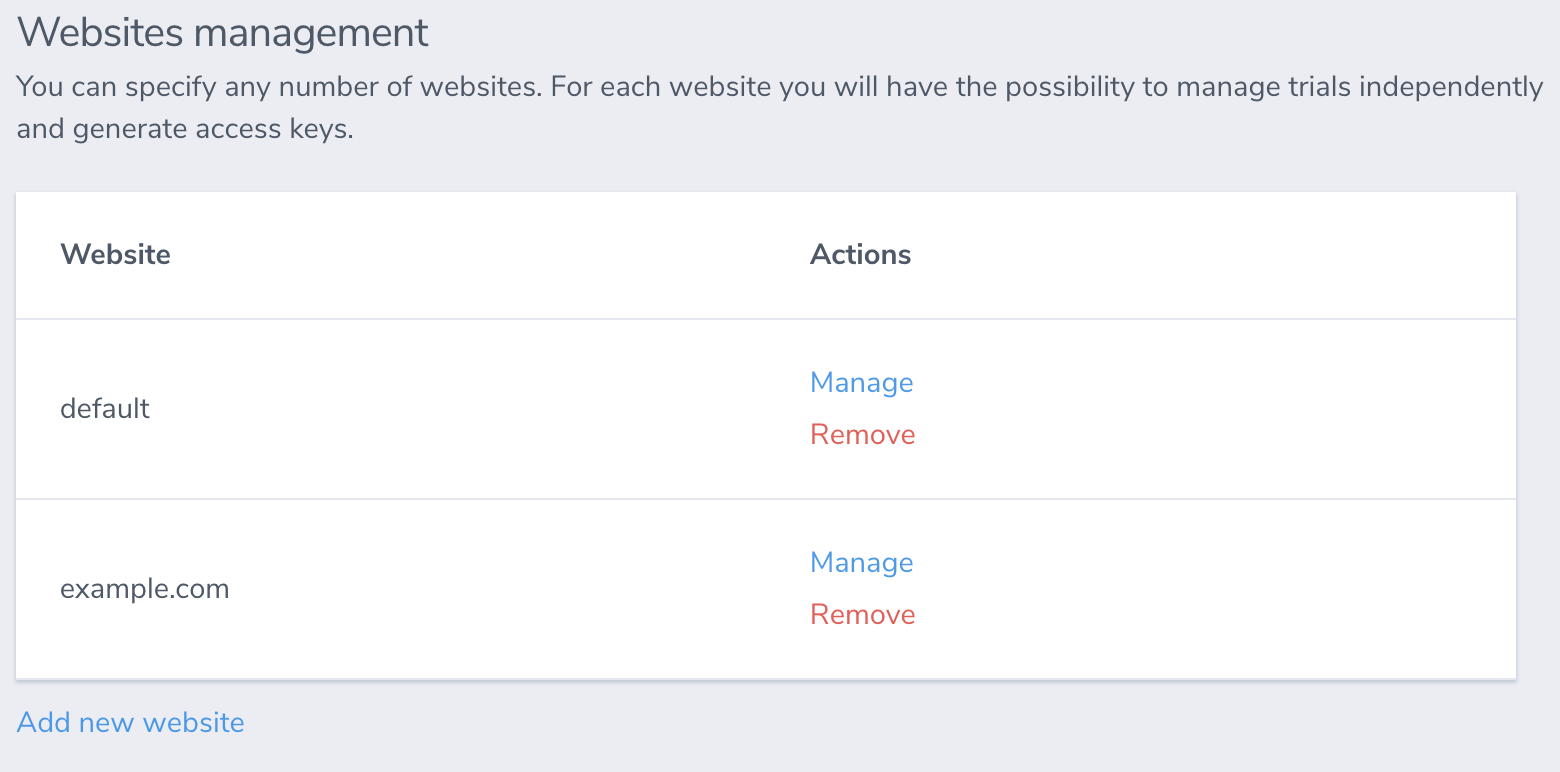
Properly defined websites allow you to control the service usage thoroughly (e.g. storage and bandwidth) across all your websites.
# Define website environment
For each website you may define multiple environments to help you separate the data between development, staging, testing and production environments.
You may skip this step as one default environment will be created for you.
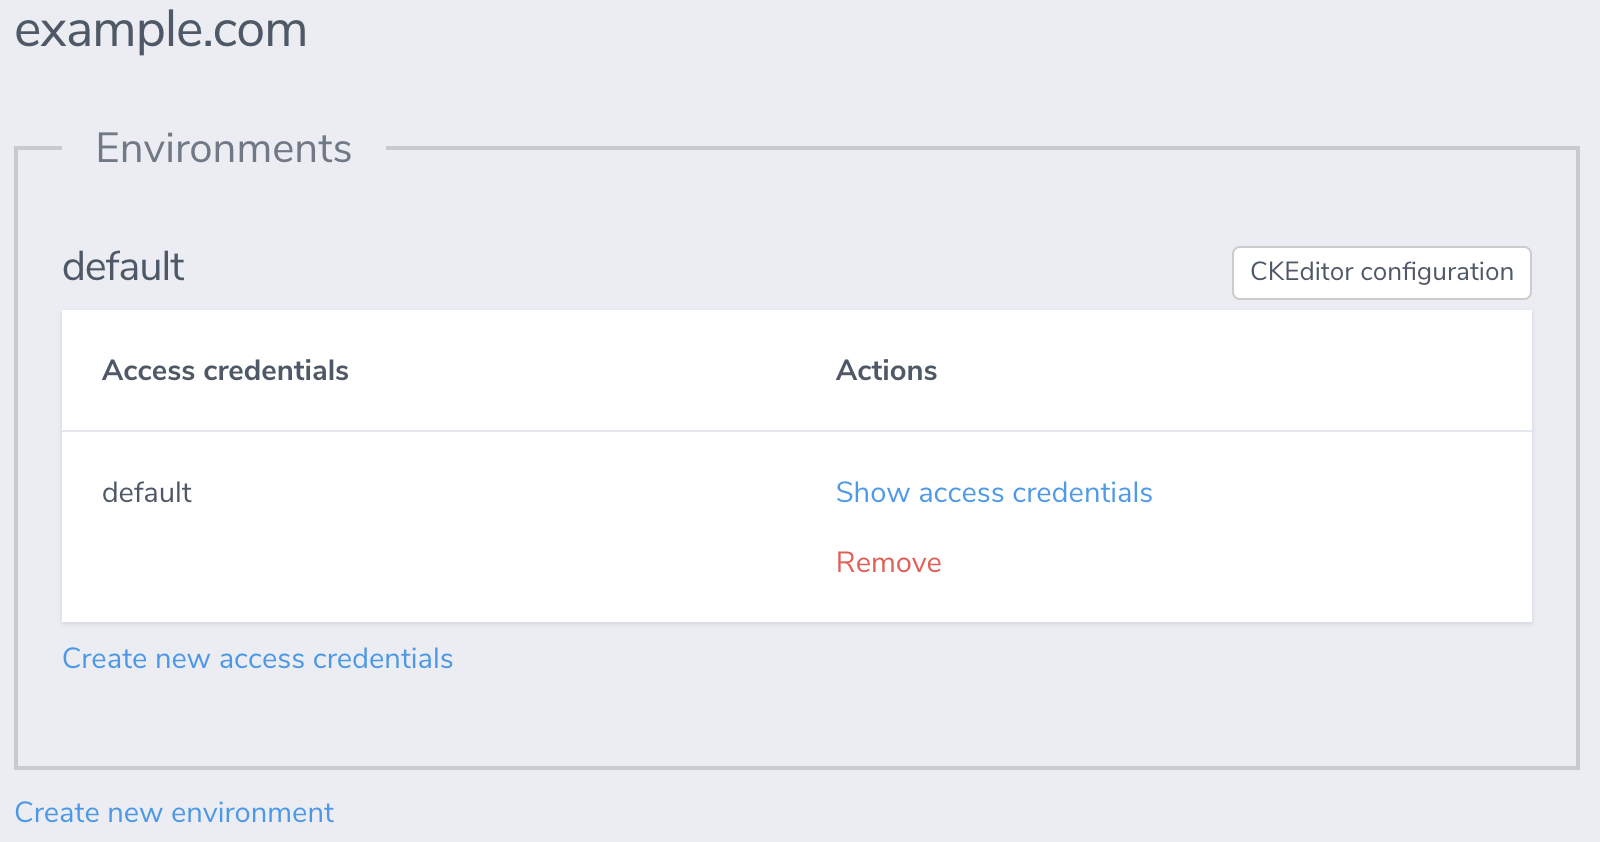
The data associated with each environment is kept separately, so it is a good practice to create different environments for development and production.
# Generate access credentials
Finally, create access credentials for the selected environment by clicking the “Create new access credentials” link.
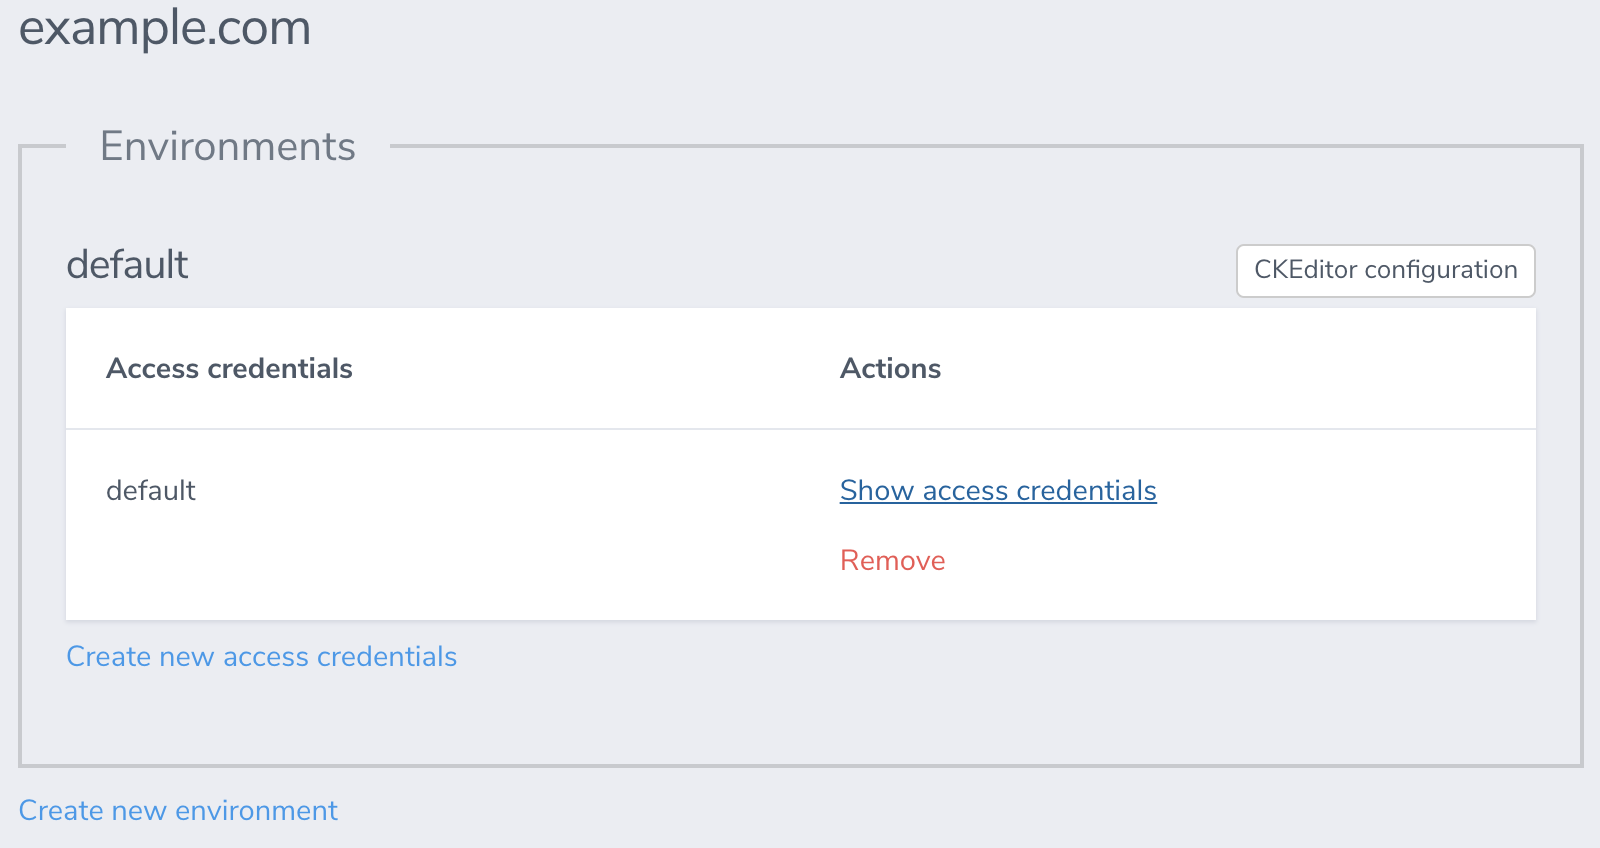
You may skip this step as one default set of access credentials will be created for you.
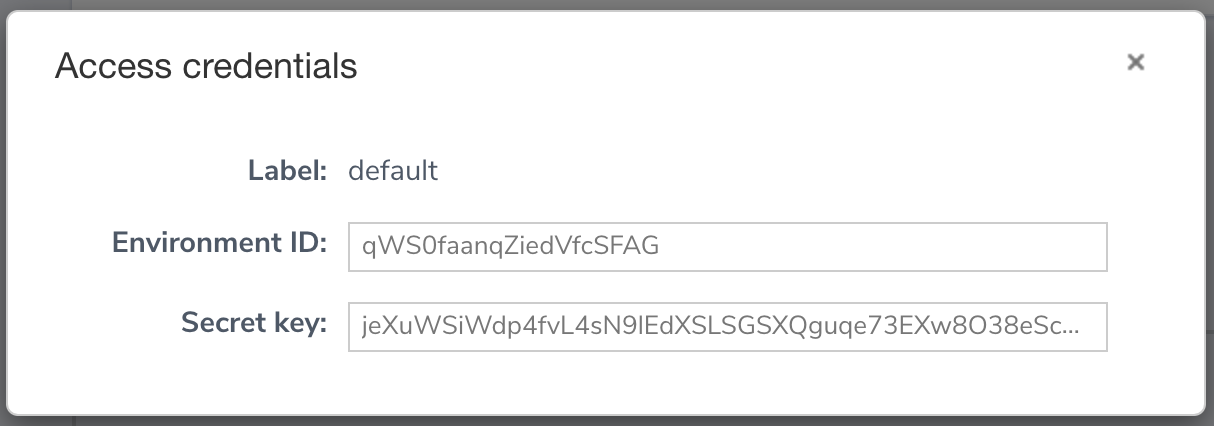
Use the credentials to create the security token endpoint. Make sure to keep the access credentials in a safe place.
# What’s next?
If you are looking for a quick introduction to Easy Image, check the Quick start article.
