
 Editing images in CKBox
CKBox provides image editing tools like cropping, resizing, or rotating. Utilizing these tools on the go, straight from the asset manager, makes working on content faster and more efficient. It saves time and resources as there is no need to resort to using a dedicated image editing software.
# Using the editing tools
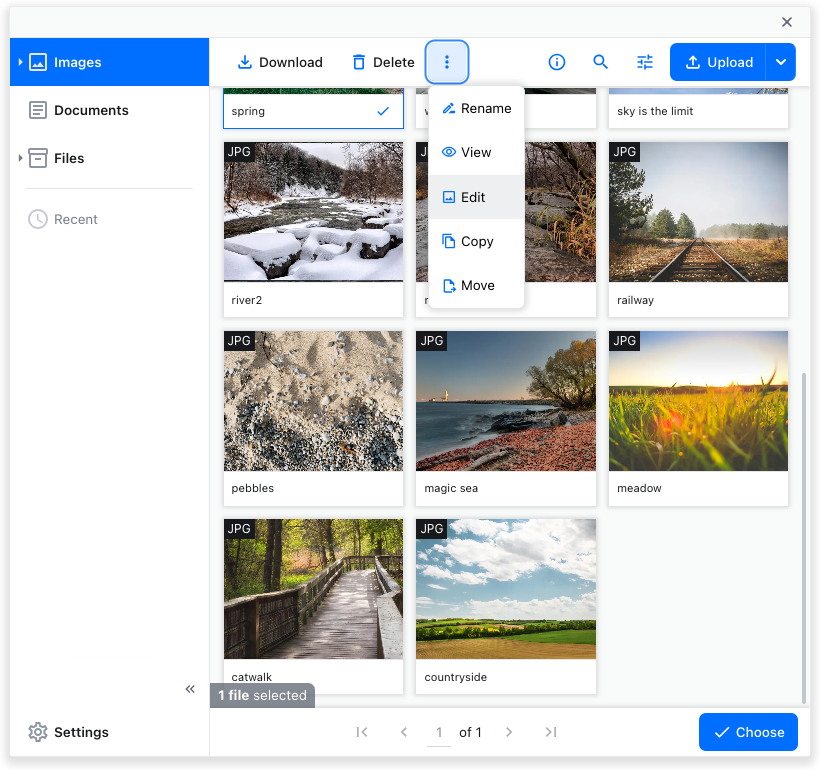
To edit an image, use the Edit button on the top bar. The button might be hidden under a three-dot dropdown menu on narrow viewports.
# Main editing screen
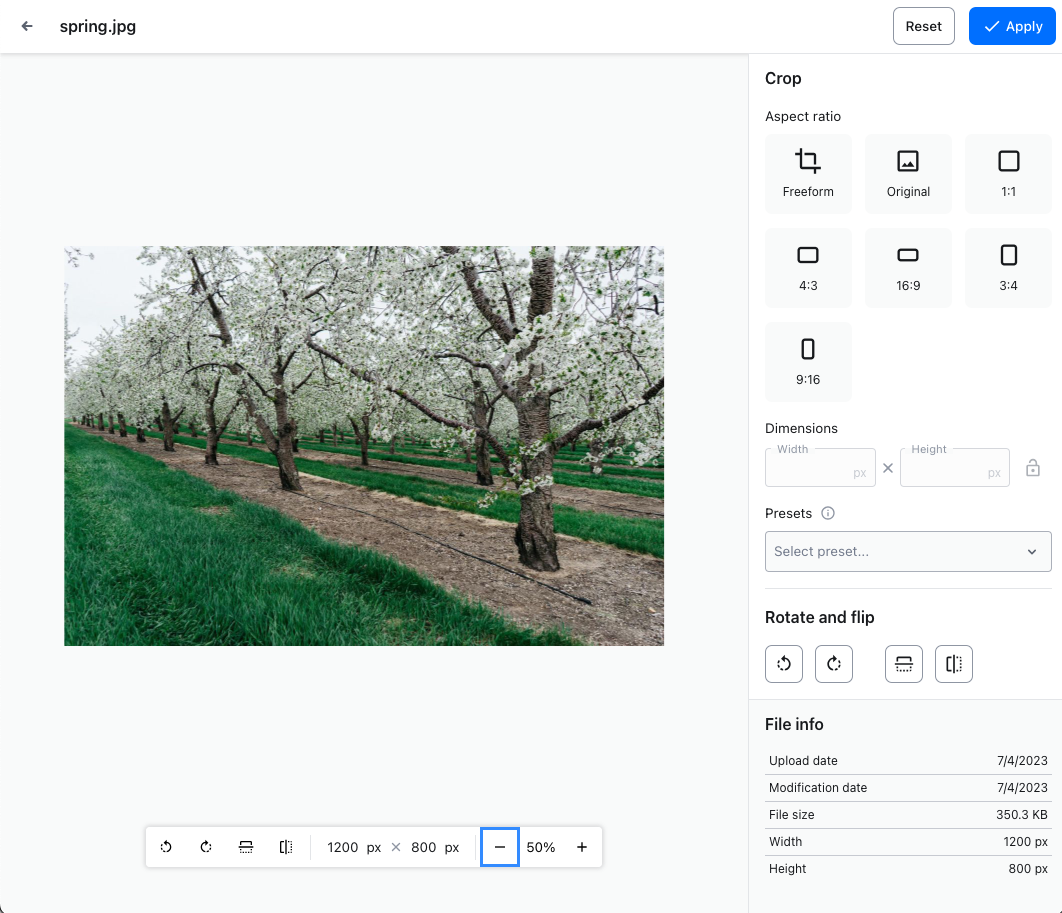
Upon opening the file for editing, the user will have access to most editing tools thanks to a clear, modern interface of the editing area. The image is displayed in the central part of the editing area. You may drag it around the editing area with a mouse click.
# Top bar

The top bar shows the exit arrow in the top left corner. Pressing it will leave the editing tool and discard all changes made so far. Pressing Escape will have the same effect.
Next is the image file name.
The Reset button will discard all changes made without exiting the tool.
The Apply button will apply all changes to the image and open the save dialog.
# Floating toolbar

The floating toolbar at the bottom provides the following tools and information (from left):
- The rotate and flip (mirror) tools – see the Rotation and flipping guide.
- Final image dimensions – these are the effective dimensions of the image after all operations are applied.
- Zoom controls – the user may zoom and out the image as desired. You may also use the mouse scrolling wheel to zoom in and zoom out on an image.
Zooming with the toolbar buttons + and - with change the zoom with steps by 25% each time. Zooming in and out with a mouse wheel will provide a smooth, continuous zoom.
# Side panel
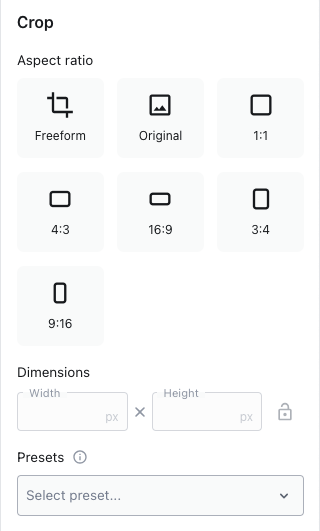
The top part of the side panel provides numerous cropping-related tools. Refer to the Cropping guide for more details on how to use these.
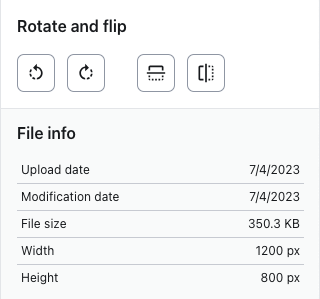
The lower part of the side panel repeats the rotating and flipping (mirroring) tools you can read more about in the Rotating and flipping guide.
The bottom part shows current file information, such as file upload and last modification date, file size, and original dimensions (before applying crop, flip, or resize operations).
# Saving changes
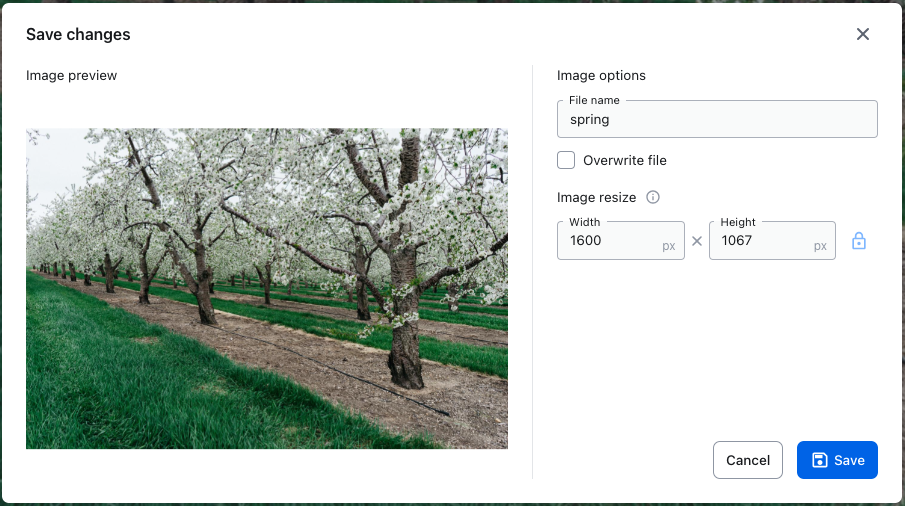
Upon clicking the Apply button in the top bar, the save dialog will appear. It shows the current version of the image (with the crop, rotate, or flip operations applied).
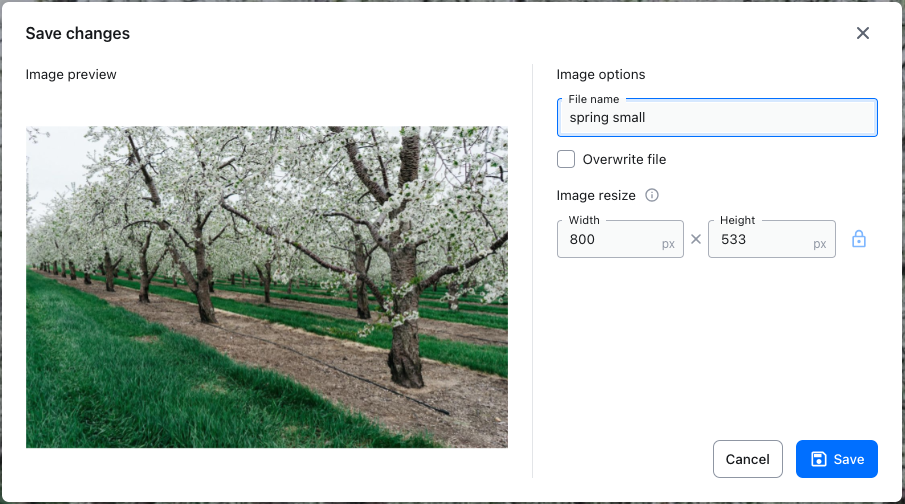
The Image options section allows for changing the file name and saving the edited file as a new asset in CKBox.
Ticking the Overwrite file checkbox will make the asset manager apply changes to the original image file.
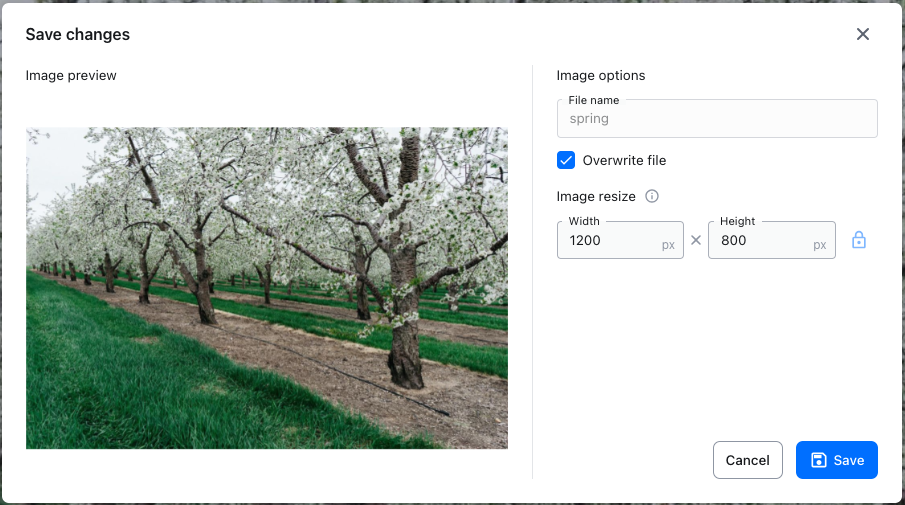
The Image resize section shows the effective dimensions of the saved image. It also allows for resizing images.
# Applying multiple changes
Changes introduced by the CKBox editing tools are incremental. It means that after applying a mirror flip or cropping an image, you can keep on adding other changes, like rotation. The preview area will show all changes. These will only be committed after pressing the Apply button on the top bar.
# Output quality
The CKBox editing tools work on the server side and do not physically commit changes to the file before the user hits the Apply button. Thanks to that, the image files are not processed applying changes, ensuring the best possible outcome in terms of file compression and image quality.