


 Quick start
This guide will show you how to initialize the editor from source and how to create a simple plugin.
# How to install the framework?
The framework is made of several npm packages. To install it you need:
- Node.js 6.9.0+
- npm 4+ (note: some npm 5+ versions were known to cause problems, especially with deduplicating packages; upgrade npm when in doubt)
Besides Node.js and npm you also need webpack@4 with a few additional packages to use the framework. They are needed to bundle the source code. Read more about building CKEditor 5 in the CKEditor 5 Builds Advanced setup guide.
# Let’s start!
This guide assumes that you are familiar with npm and your project uses npm already. If not, see the npm documentation or call npm init in an empty directory and keep your fingers crossed.
First, install packages needed to build CKEditor 5.
npm install --save \
    postcss-loader \
    raw-loader \
    style-loader \
    webpack@4 \
    webpack-cli@3
The minimal webpack configuration needed to enable building CKEditor 5 is:
// webpack.config.js

'use strict';

const path = require( 'path' );
const { styles } = require( '@ckeditor/ckeditor5-dev-utils' );

module.exports = {
    // https://webpack.js.org/configuration/entry-context/
    entry: './app.js',

    // https://webpack.js.org/configuration/output/
    output: {
        path: path.resolve( __dirname, 'dist' ),
        filename: 'bundle.js'
    },

    module: {
        rules: [
            {
                // Or /ckeditor5-[^/]+\/theme\/icons\/[^/]+\.svg$/ if you want to limit this loader
                // to CKEditor 5 icons only.
                test: /\.svg$/,

                use: [ 'raw-loader' ]
            },
            {
                // Or /ckeditor5-[^/]+\/theme\/[^/]+\.css$/ if you want to limit this loader
                // to CKEditor 5 theme only.
                test: /\.css$/,
                use: [
                    {
                        loader: 'style-loader',
                        options: {
                            singleton: true
                        }
                    },
                    {
                        loader: 'postcss-loader',
                        options: styles.getPostCssConfig( {
                            themeImporter: {
                                themePath: require.resolve( '@ckeditor/ckeditor5-theme-lark' )
                            },
                            minify: true
                        } )
                    },
                ]
            }
        ]
    },

    // Useful for debugging.
    devtool: 'source-map',

    // By default webpack logs warnings if the bundle is bigger than 200kb.
    performance: { hints: false }
};
You can now install some of the CKEditor 5 Framework packages which will allow you to initialize a simple editor. You can start with the classic editor with a small set of features.
npm install --save \
    @ckeditor/ckeditor5-dev-utils \
    @ckeditor/ckeditor5-editor-classic \
    @ckeditor/ckeditor5-essentials \
    @ckeditor/ckeditor5-paragraph \
    @ckeditor/ckeditor5-basic-styles \
    @ckeditor/ckeditor5-theme-lark
Based on these packages you can create a simple application.
This guide is using the ES6 modules syntax. If you are not familiar with it, check out this article.
Note that in this guide the editor class is used directly (i.e. we use @ckeditor/ckeditor5-editor-classic instead of @ckeditor/ckeditor5-build-classic).
We do not use any of the builds because adding new plugins to them requires rebuilding them anyway. This can be done by customizing a build or by including CKEditor 5 source into your application (like in this guide).
// app.js

import ClassicEditor from '@ckeditor/ckeditor5-editor-classic/src/classiceditor';
import Essentials from '@ckeditor/ckeditor5-essentials/src/essentials';
import Paragraph from '@ckeditor/ckeditor5-paragraph/src/paragraph';
import Bold from '@ckeditor/ckeditor5-basic-styles/src/bold';
import Italic from '@ckeditor/ckeditor5-basic-styles/src/italic';

ClassicEditor
    .create( document.querySelector( '#editor' ), {
        plugins: [ Essentials, Paragraph, Bold, Italic ],
        toolbar: [ 'bold', 'italic' ]
    } )
    .then( editor => {
        console.log( 'Editor was initialized', editor );
    } )
    .catch( error => {
        console.error( error.stack );
    } );
You can now run webpack to build the application. To do that, call the webpack executable:
./node_modules/.bin/webpack --mode development
You can also install webpack-cli globally (using npm install -g) and run it via a globally available webpack.
Alternatively, you can add it as an npm script:
"scripts": {
    "build": "webpack --mode development"
}
And use it via:
npm run build
npm adds ./node_modules/.bin/ to the PATH automatically, so in this case you do not need to install webpack-cli globally.
Use webpack --mode production if you want to build a minified and optimized application. See more at https://webpack.js.org/concepts/mode/.
Note: Prior to version 1.2.7 uglifyjs-webpack-plugin (the default minifier used by webpack) had a bug which caused webpack to crash with the following error: TypeError: Assignment to constant variable.. If you experienced this error, make sure that your node_modules contains an up to date version of this package (and that webpack uses this version).
If everything worked correctly, you should see:
p@m /workspace/quick-start> ./node_modules/.bin/webpack --mode development
Hash: c96beab038124d61568f
Version: webpack 4.15.1
Time: 3023ms
Built at: 2018-07-05 17:37:38
        Asset      Size  Chunks             Chunk Names
    bundle.js  2.45 MiB    main  [emitted]  main
bundle.js.map  2.39 MiB    main  [emitted]  main
[./app.js] 638 bytes {main} [built]
[./node_modules/webpack/buildin/global.js] (webpack)/buildin/global.js 489 bytes {main} [built]
[./node_modules/webpack/buildin/harmony-module.js] (webpack)/buildin/harmony-module.js 573 bytes {main} [built]
    + 491 hidden modules
Finally, it is time to create an HTML page:
<!DOCTYPE html>
<html lang="en">
    <head>
        <meta charset="utf-8">
        <title>CKEditor 5 Framework – Quick start</title>
    </head>
    <body>
        <div id="editor">
            <p>Editor content goes here.</p>
        </div>

        <script src="dist/bundle.js"></script>
    </body>
</html>
Open this page in your browser and you should see the editor up and running. Make sure to check the browser console in case anything seems wrong.
# Creating a simple plugin
After you initilized the editor from source, you are ready to create your first CKEditor 5 plugin.
CKEditor plugins need to implement the PluginInterface. The easiest way to do that is to inherit from the base Plugin class, however, you can also write simple constructor functions. This guide uses the former method.
The plugin that you will write will use a part of the image feature and will add a simple UI to it — an “Insert image” button that will open a prompt window asking for the image URL when clicked. Submitting the URL will result in inserting the image into the content and selecting it.
# Step 1. Installing dependencies
Start from installing necessary dependencies:
- The
@ckeditor/ckeditor5-imagepackage that contains the image feature (on which the plugin will rely). - The
@ckeditor/ckeditor5-corepackage which contains thePluginandCommandclasses. - The
@ckeditor/ckeditor5-uipackage which contains the UI library and framework.
npm install --save @ckeditor/ckeditor5-image \
    @ckeditor/ckeditor5-core \
    @ckeditor/ckeditor5-ui
Most of the time, you will also want to install the @ckeditor/ckeditor5-engine package (it contains the editing engine). It was omitted in this guide because it is unnecessary for a simple plugin like this one.
Now, open the app.js file and start adding code there. Usually, when implementing more complex features you will want to split the code into multiple files (modules). However, to make this guide simpler the entire code will be kept in app.js.
First thing to do will be to load the core of the image feature:
import Image from '@ckeditor/ckeditor5-image/src/image';

// ...

ClassicEditor
    .create( document.querySelector( '#editor' ), {
        // Add Image to the plugin list.
        plugins: [ Essentials, Paragraph, Bold, Italic, Image ],

        // ...
    } )
    // ...
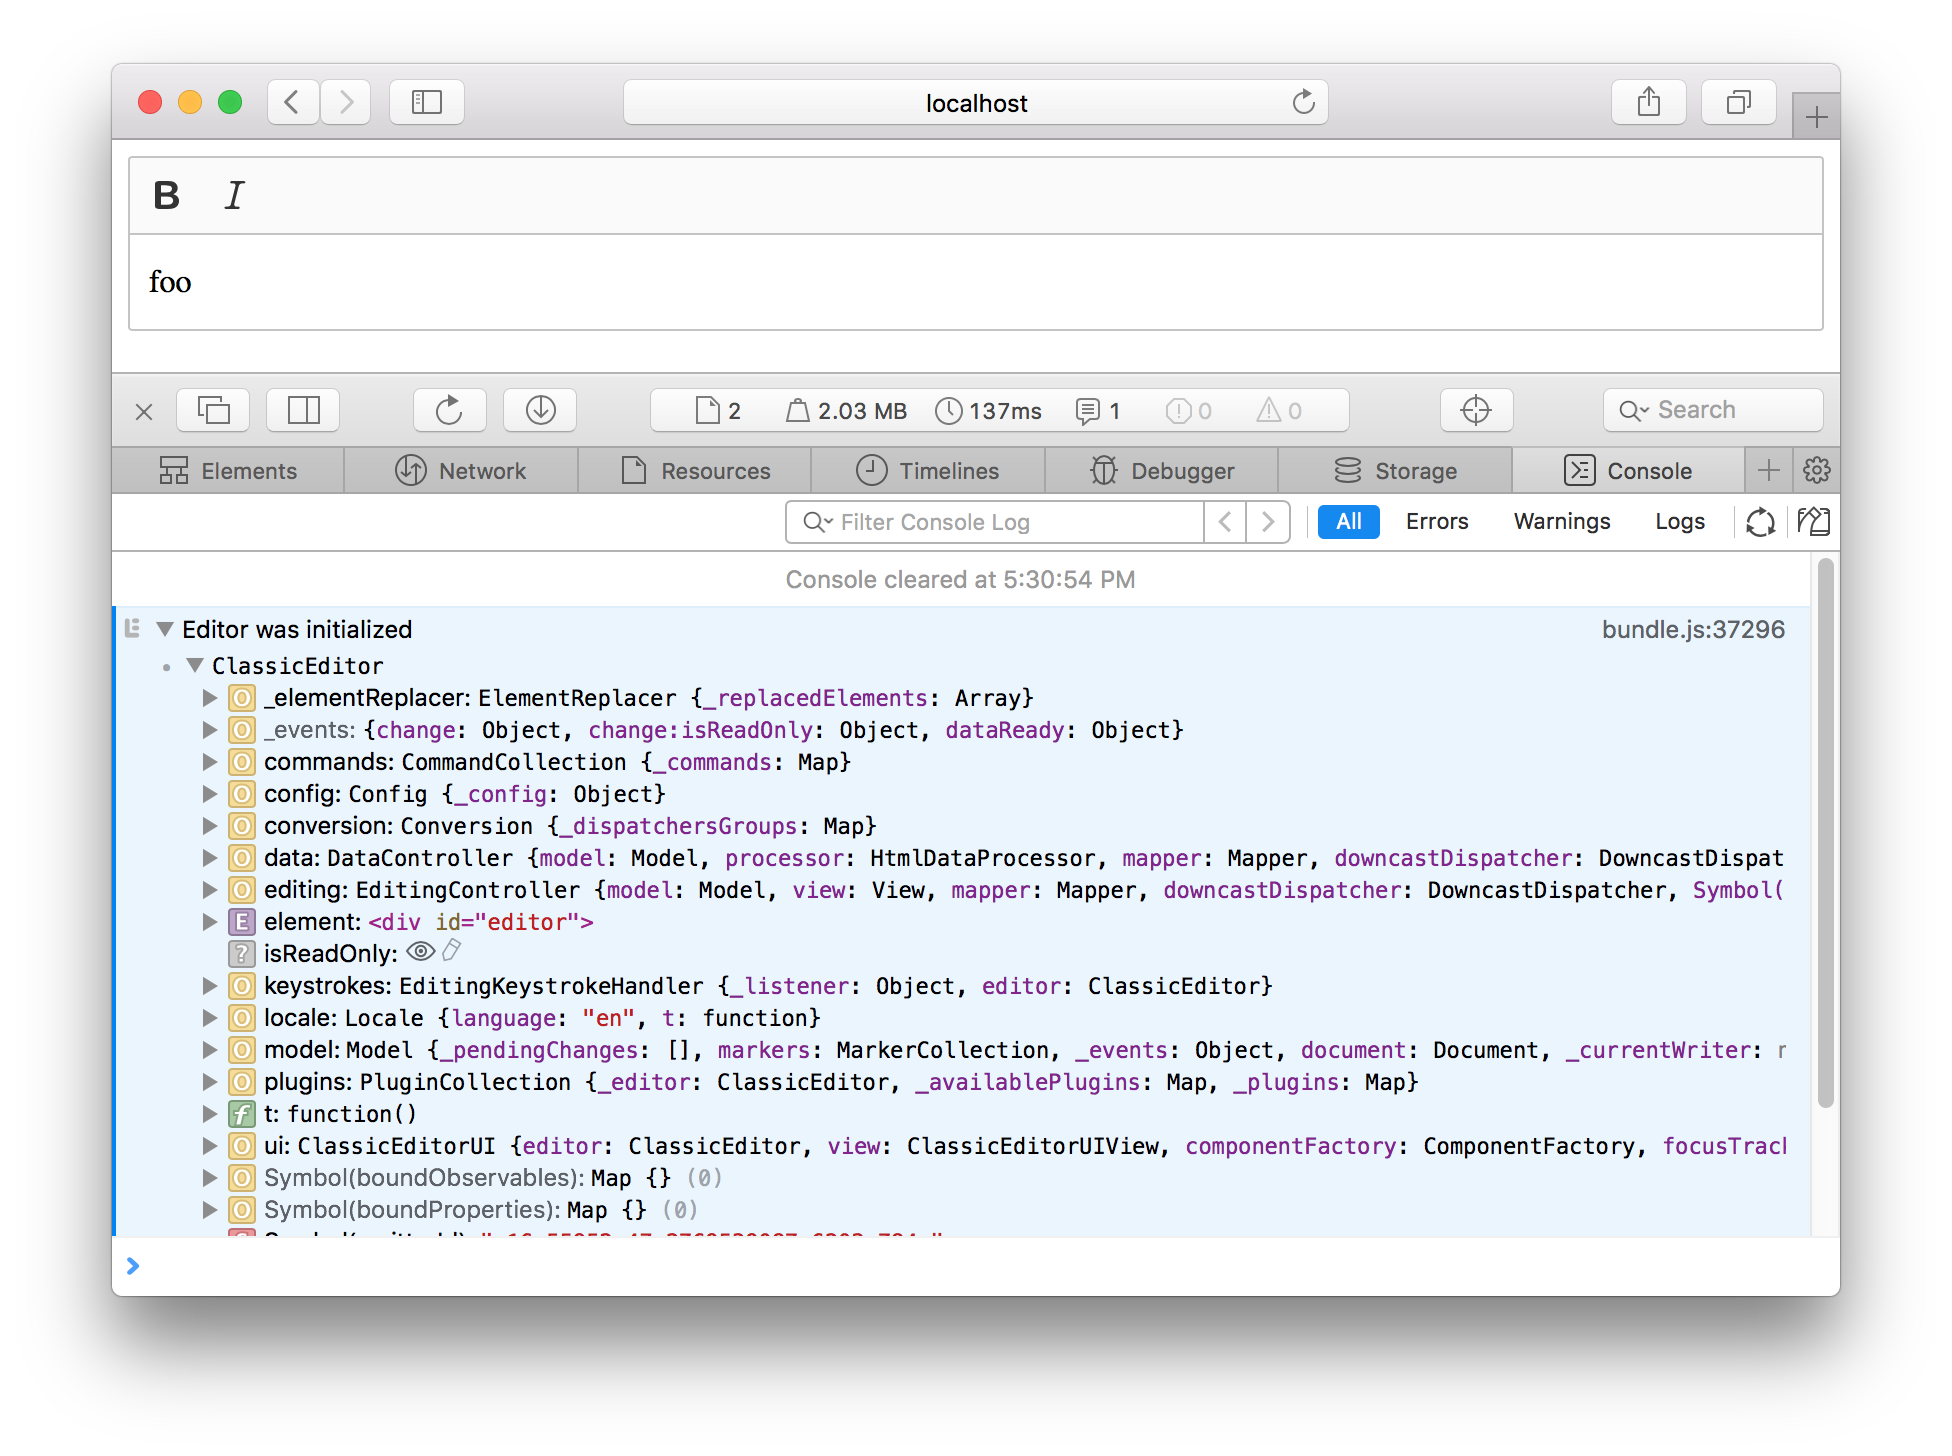
Save the file and run webpack. Refresh the page in your browser (remember about the cache) and… you should not see any changes. This is correct! The core of the image feature does not come with any UI, nor have you added any image to the initial HTML. Change this now:
<div id="editor">
    <p>Simple image:</p>

    <figure class="image">
        <img src="https://via.placeholder.com/1000x300/02c7cd/fff?text=Placeholder%20image" alt="CKEditor 5 rocks!">
    </figure>
</div>
Running webpack with the -w option will start it in the watch mode. This means that webpack will watch your files for changes and rebuild the application every time you save them.
# Step 2. Creating a plugin
You can now start implementing your new plugin. Create the InsertImage plugin:
import Plugin from '@ckeditor/ckeditor5-core/src/plugin';

class InsertImage extends Plugin {
    init() {
        console.log( 'InsertImage was initialized' );
    }
}
And add your new plugin to the config.plugins array. After rebuilding the application and refreshing the page you should see “InsertImage was initialized” logged to the console.
It was said that your InsertImage plugin relies on the image feature represented here by the Image plugin. You could add the Image plugin as a dependency of the InsertImage plugin. This would make the editor initialize Image automatically before initializing InsertImage, so you would be able to remove Image from config.plugins.
However, this means that your plugin would be coupled with the Image plugin. This is unnecessary — they do not need to know about each other. And while it does not change anything in this simple example, it is a good practice to keep plugins as decoupled as possible.
# Step 3. Registering a button
Create a button now:
// This SVG file import will be handled by webpack's raw-text loader.
// This means that imageIcon will hold the source SVG.
import imageIcon from '@ckeditor/ckeditor5-core/theme/icons/image.svg';

import ButtonView from '@ckeditor/ckeditor5-ui/src/button/buttonview';

class InsertImage extends Plugin {
    init() {
        const editor = this.editor;

        editor.ui.componentFactory.add( 'insertImage', locale => {
            const view = new ButtonView( locale );

            view.set( {
                label: 'Insert image',
                icon: imageIcon,
                tooltip: true
            } );

            // Callback executed once the image is clicked.
            view.on( 'execute', () => {
                const imageURL = prompt( 'Image URL' );
            } );

            return view;
        } );
    }
}
And add insertImage to config.toolbar:
ClassicEditor
    .create( document.querySelector( '#editor' ), {
        // ...

        toolbar: [ 'bold', 'italic', 'insertImage' ]
    } )
    // ...
Rebuild the application and refresh the page. You should see a new button in the toolbar. Clicking the button should open a prompt window asking you for the image URL.
# Step 4. Inserting a new image
Now, expand the button’s #execute event listener, so it will actually insert a new image into the content:
class InsertImage extends Plugin {
    init() {
        const editor = this.editor;

        editor.ui.componentFactory.add( 'insertImage', locale => {
            const view = new ButtonView( locale );

            view.set( {
                label: 'Insert image',
                icon: imageIcon,
                tooltip: true
            } );

            // Callback executed once the image is clicked.
            view.on( 'execute', () => {
                const imageUrl = prompt( 'Image URL' );

                editor.model.change( writer => {
                    const imageElement = writer.createElement( 'image', {
                        src: imageUrl
                    } );

                    // Insert the image in the current selection location.
                    editor.model.insertContent( imageElement, editor.model.document.selection );
                } );
            } );

            return view;
        } );
    }
}
If you refresh the page, you should now be able to insert new images into the content:
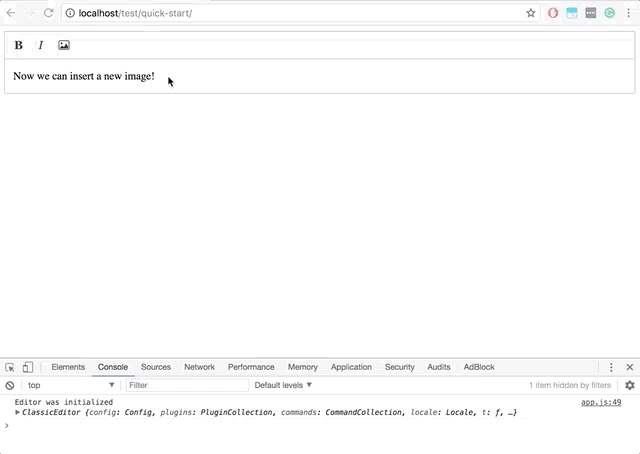
The image is fully functional, you can undo inserting by pressing Ctrl+Z and the image is always inserted as a block element (the paragraph that contains the selection is automatically split). This is all handled by the CKEditor 5 engine.
As you can see, by clicking the button you are inserting an <image src="..."> element into the model. The image feature is represented in the model as <image>, while in the view (i.e. the virtual DOM) and in the real DOM it is rendered as <figure class="image"><img src="..."></figure>.
The <image> to <figure><img></figure> transformation is called “conversion” and it requires a separate guide. However, as you can see in this example, it is a powerful mechanism because it allows non-1:1 mappings.
Congratulations! You have just created your first CKEditor 5 plugin!
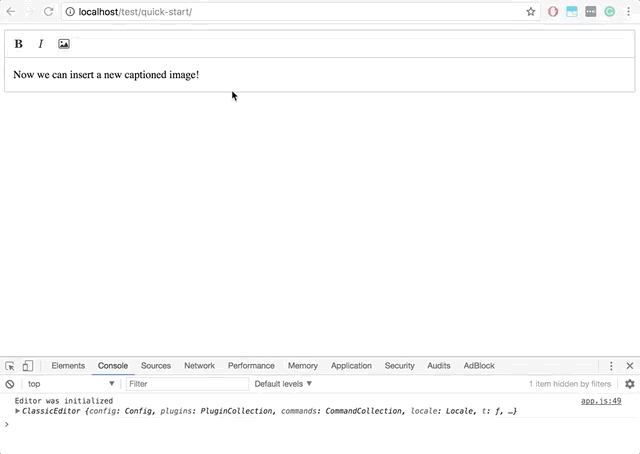
# Bonus. Enabling image captions
Thanks to the fact that all plugins operate on the model and on the view and know as little about themselves as possible, you can easily enable image captions by simply loading the ImageCaption plugin:
import ImageCaption from '@ckeditor/ckeditor5-image/src/imagecaption';

// ...

ClassicEditor
    .create( document.querySelector( '#editor' ), {
        // Add ImageCaption to the plugin list.
        plugins: [ Essentials, Paragraph, Bold, Italic, Image, InsertImage, ImageCaption ],

        // ...
    } )
    // ...
This should be the result of the change:
# Final code
If you got lost at any point, this should be your final app.js:
import ClassicEditor from '@ckeditor/ckeditor5-editor-classic/src/classiceditor';

import Essentials from '@ckeditor/ckeditor5-essentials/src/essentials';
import Paragraph from '@ckeditor/ckeditor5-paragraph/src/paragraph';
import Bold from '@ckeditor/ckeditor5-basic-styles/src/bold';
import Italic from '@ckeditor/ckeditor5-basic-styles/src/italic';
import Image from '@ckeditor/ckeditor5-image/src/image';
import ImageCaption from '@ckeditor/ckeditor5-image/src/imagecaption';

import Plugin from '@ckeditor/ckeditor5-core/src/plugin';;
import ButtonView from '@ckeditor/ckeditor5-ui/src/button/buttonview';

import imageIcon from '@ckeditor/ckeditor5-core/theme/icons/image.svg'

class InsertImage extends Plugin {
    init() {
        const editor = this.editor;

        editor.ui.componentFactory.add( 'insertImage', locale => {
            const view = new ButtonView( locale );

            view.set( {
                label: 'Insert image',
                icon: imageIcon,
                tooltip: true
            } );

            // Callback executed once the image is clicked.
            view.on( 'execute', () => {
                const imageUrl = prompt( 'Image URL' );

                editor.model.change( writer => {
                    const imageElement = writer.createElement( 'image', {
                        src: imageUrl
                    } );

                    // Insert the image in the current selection location.
                    editor.model.insertContent( imageElement, editor.model.document.selection );
                } );
            } );

            return view;
        } );
    }
}

ClassicEditor
    .create( document.querySelector( '#editor' ), {
        plugins: [ Essentials, Paragraph, Bold, Italic, Image, InsertImage, ImageCaption ],
        toolbar: [ 'bold', 'italic', 'insertImage' ]
    } )
    .then( editor => {
        console.log( 'Editor was initialized', editor );
    } )
    .catch( error => {
        console.error( error.stack );
    } );